An Easy Method How Professionals Hang a Picture Grid Gallery
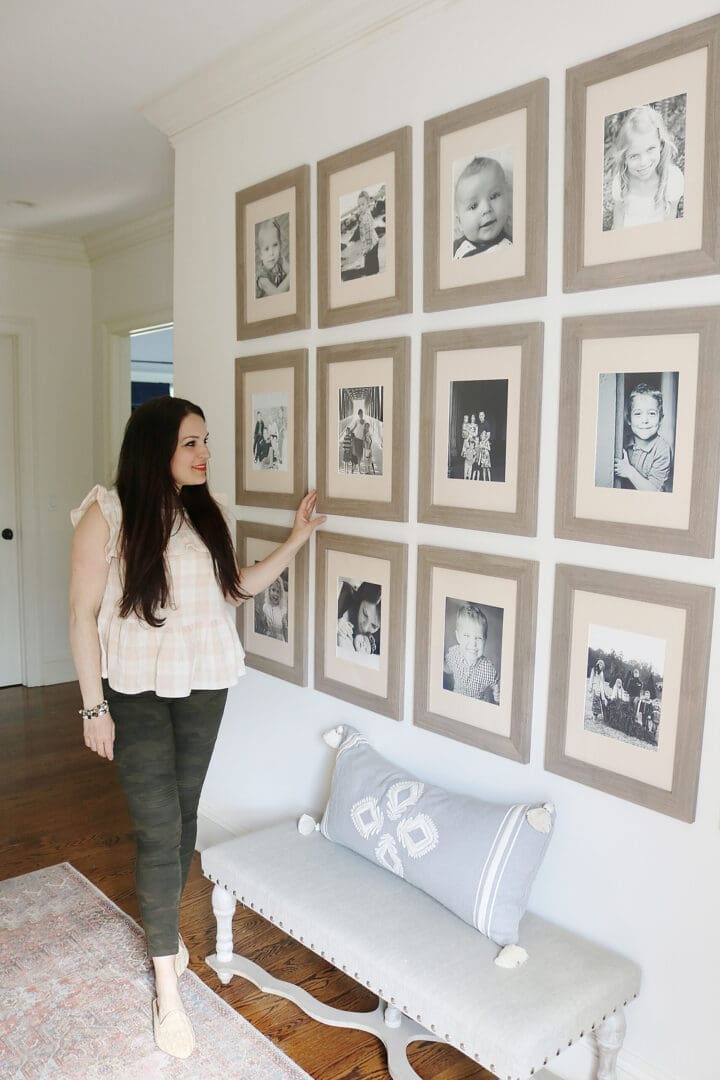
The picture grid gallery wall is the perfect way to display family pictures, and makes a beautiful statement in a home. The perfect grid gallery shows balance and organization and brings a clean look to a bunch of random pictures. It works great for family pictures or similar like photos. Hanging the actual pictures can look like an easy task, until you actually start hanging the pictures! You start getting the pictures are uneven and then the easy project becomes a tricky project. There are so many tutorials out there, and many follow a method where you use brand-new pictures frames or cut paper patterns out. But I am going to show you the way that a professional picture hanger (is that even legit?) would do. It requires a basic method: measuring! Yes, I know. You are probably saying–no, no, no, NOT the tape measure! I’m horrible at measuring. But I promise, it’s not as hard as it sounds. It’s just being precise. Meaning you need to write those measurements down and having a level to help you along the way. I’m going to show you how to hang a picture grid gallery follow these easy steps.
Make sure to also check out my 8 Rules for creating the Perfect Gallery Wall before you start!
How to Hang Picture Grid Gallery
Supplies: Tape measure, pencil, paper, level (or laser level), hammer, picture hanging hooks, step ladder
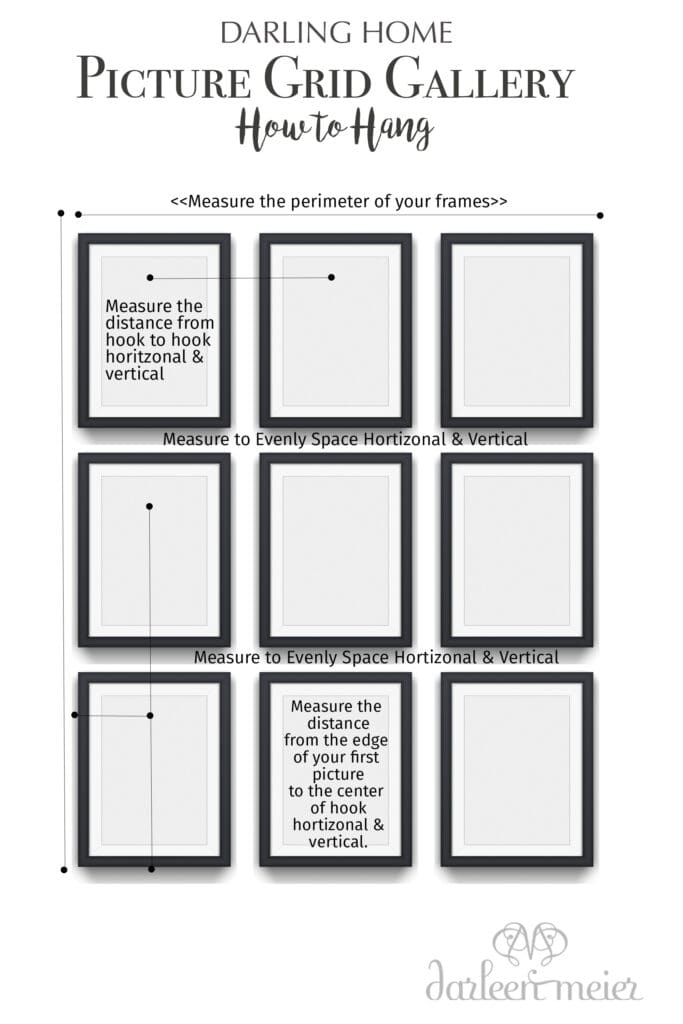
- Lay out your picture frames on the floor face down (or picture down so the backside is exposed). Using a tape measure, space them evenly. Most picture grids have a 1.5″-2.5″ spacing between each frame, give or take depending on your wall space and number of picture frames.
- Once all the picture frames are evenly spaced, measure the entire width and entire height. Write those measurements down. Then take those measurements and measure it on your blank wall space and lightly mark with a pencil.
- I like to begin my first frame on either side of the bottom corner, NOT in the middle. So, depending on what bottom corner, using your level mark that corner spot where your horizontal and vertical measurements cross. This will be your beginning corner.
- Then go back to your picture frames and measure the edge of the frame to the corner of picture (as shown above). You will do it vertically and horizontally. Make sure to write that measurement down on your paper.
- After measure the distance from the center hook from frame to frame vertically and horizontally (as shown above). Make sure you write those measurements down.
- Then measurements you wrote down for #4 and #5 will be the distance from each nail in the wall. I always begin from the bottom corner and then work my wall across the bottom then up.
- Head to your wall, take the measurement that you got from #4. Begin at your starting corner and measure up, then measure over. Mark with a pencil. This will be where your first nail goes.
- Then take your measurements from #5 and measure the distance from that pencil mark and mark to the next spot. Repeat horizontally for all your frame. Use your level to make sure all the marks line up and the measurements are precise.
- After work your way vertically from the vertical measurements you took from #5, then horizontally across the next row. Repeat through each row using your level to confirm everything is straight.
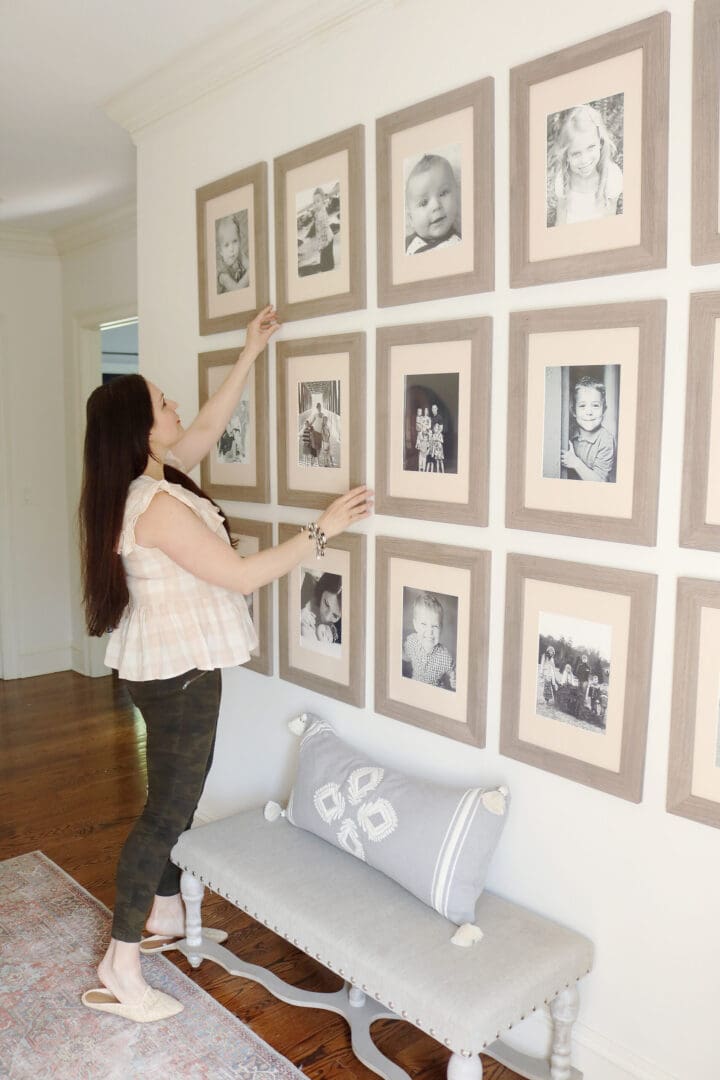
- Once done with all the markings, then you can hammer. Hammer the nail straight. Double check again that the nails are all lined up straight. Make adjustments if needed.
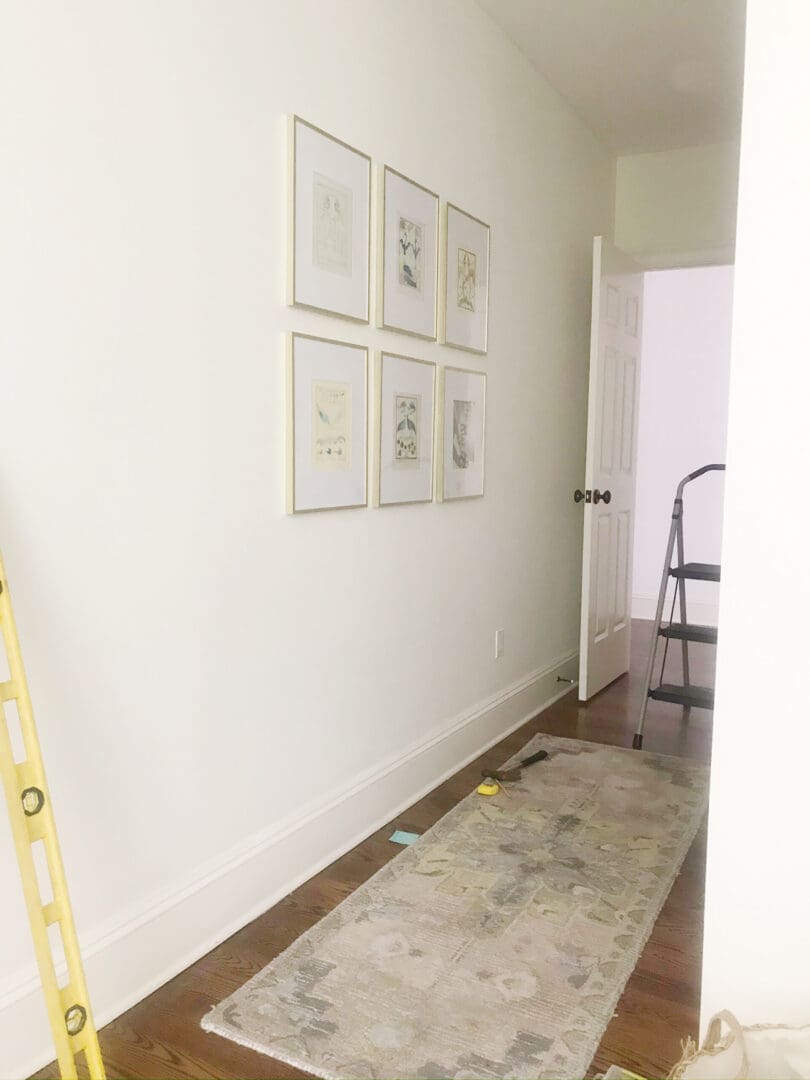
- Hang your pictures and enjoy!!
Make sure to check out how it I did this DIY on my Instagram channel!


The post How to hang a Picture grid Gallery appeared first on Darling Darleen | A Lifestyle Design Blog.
