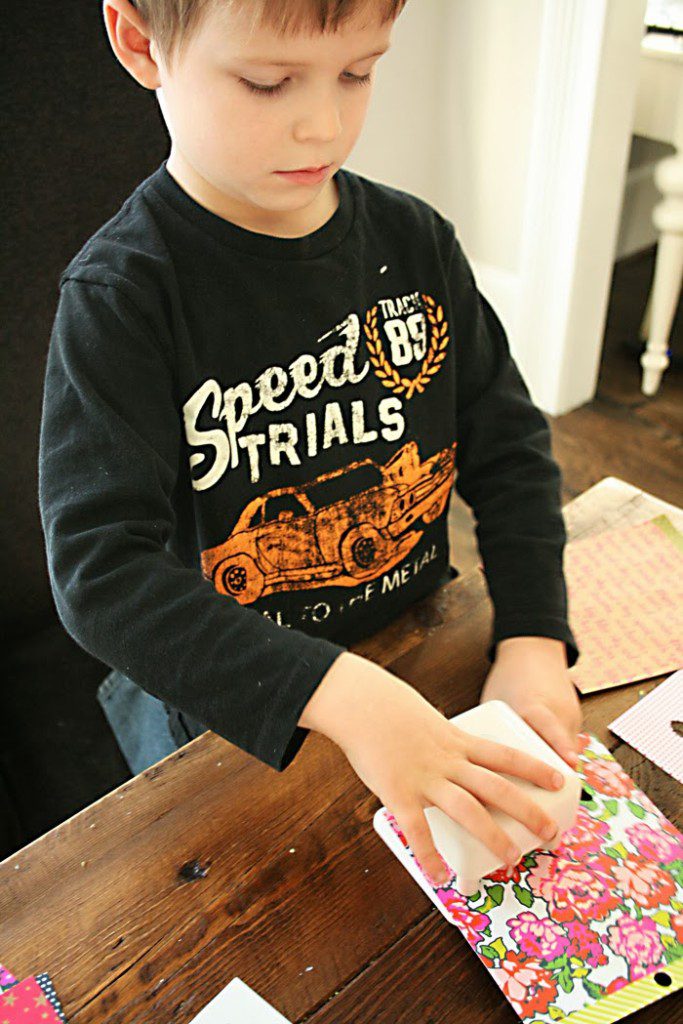
This darling paper butterfly artwork project is so easy, a five year old can do it! Seriously. My five year old made this art piece for his sister…with a little assistance of course. For Christmas, we do handmade sibling gifts–a tradition we started a few years back. My children love this tradition, and the one-on-one craft project they get to do with mom. I try to think up homemade items that can be well appreciated for many years to come. In the past, we’ve made homemade star wars t-shirt designs, hair bows, friendship bracelets, wooden puzzle pieces, constellation lights, personalized snow globes, monster gloves. I’m always planning to blog about it, but then I forget. But this project I documented and I’m now posting!
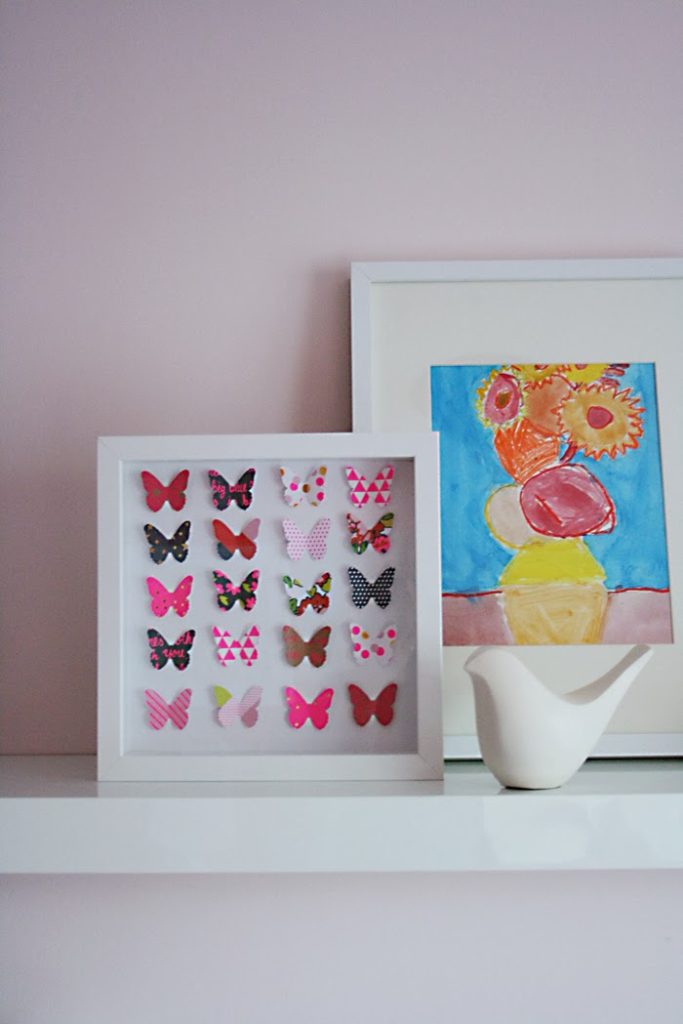
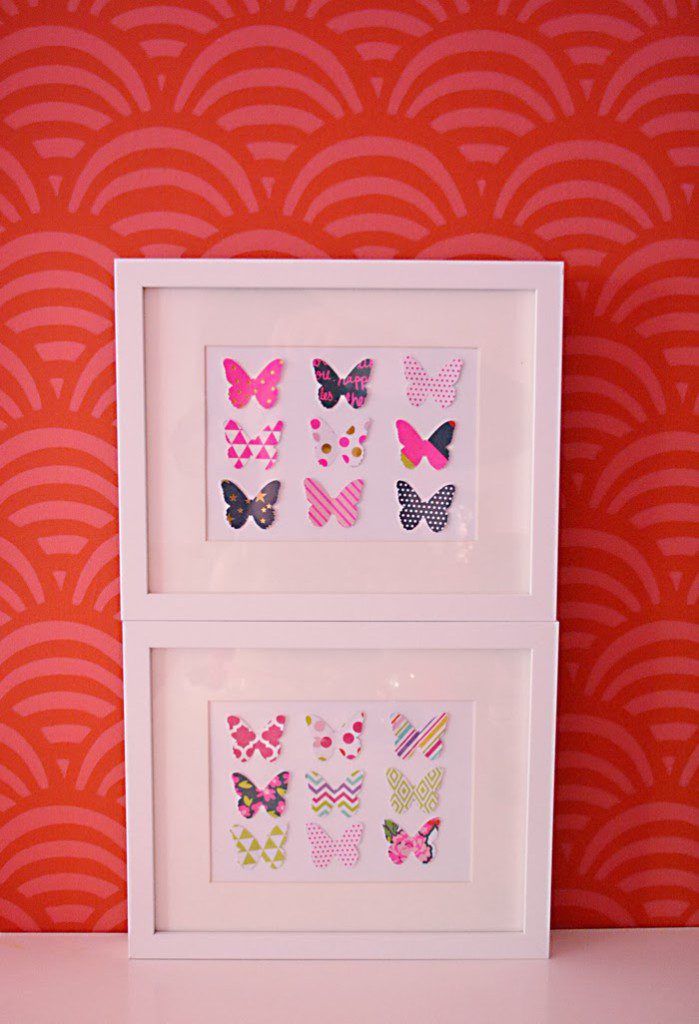
We moved into a new house end of last year so we are in need of cheap framed artwork to adorn the walls.
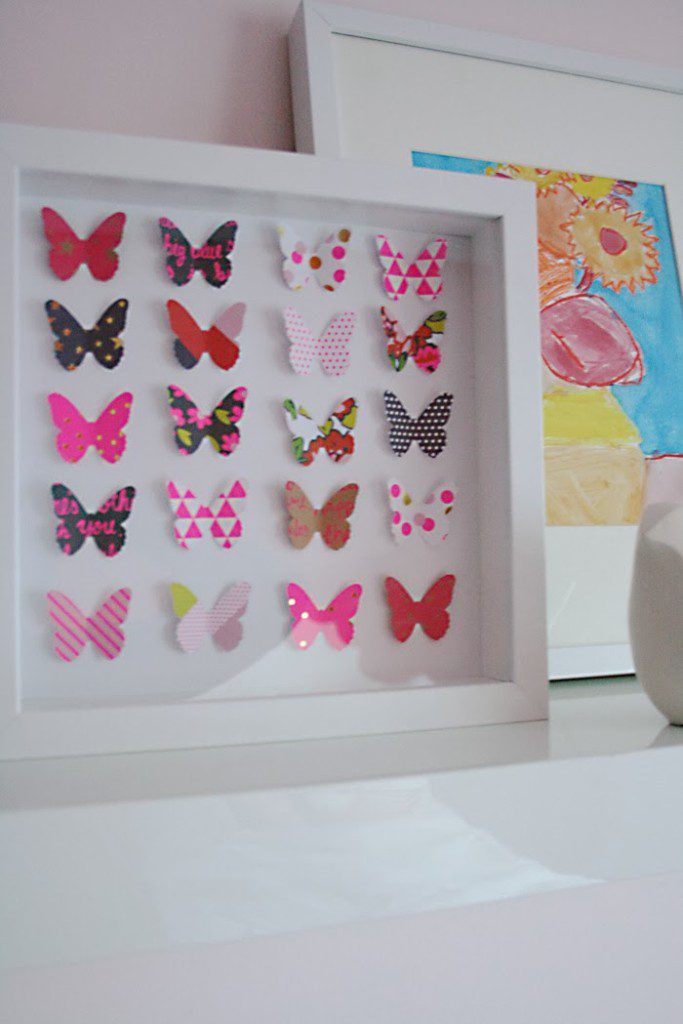
This paper butterfly artwork is cheap and easy and quick to make. My five year old made two of these for his sisters’ bedrooms. And we love the results.
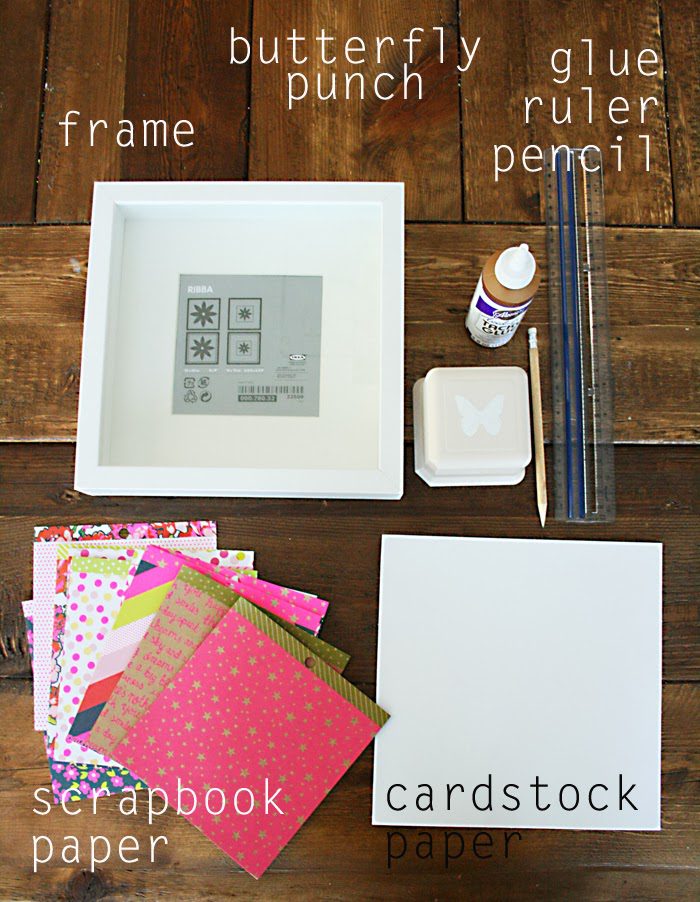
Here’s what you need:
1. Frame–I like to keep a few
Ikea ribba frames because they are cheap and modern. They are perfect for children’s artwork or for postcards, calendar clipouts
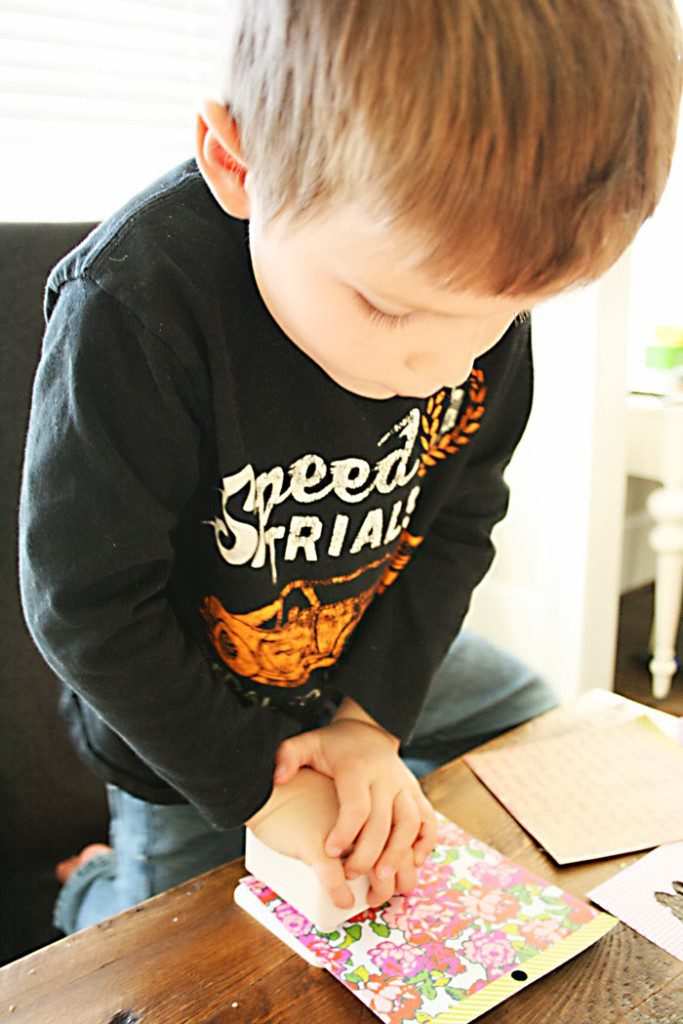
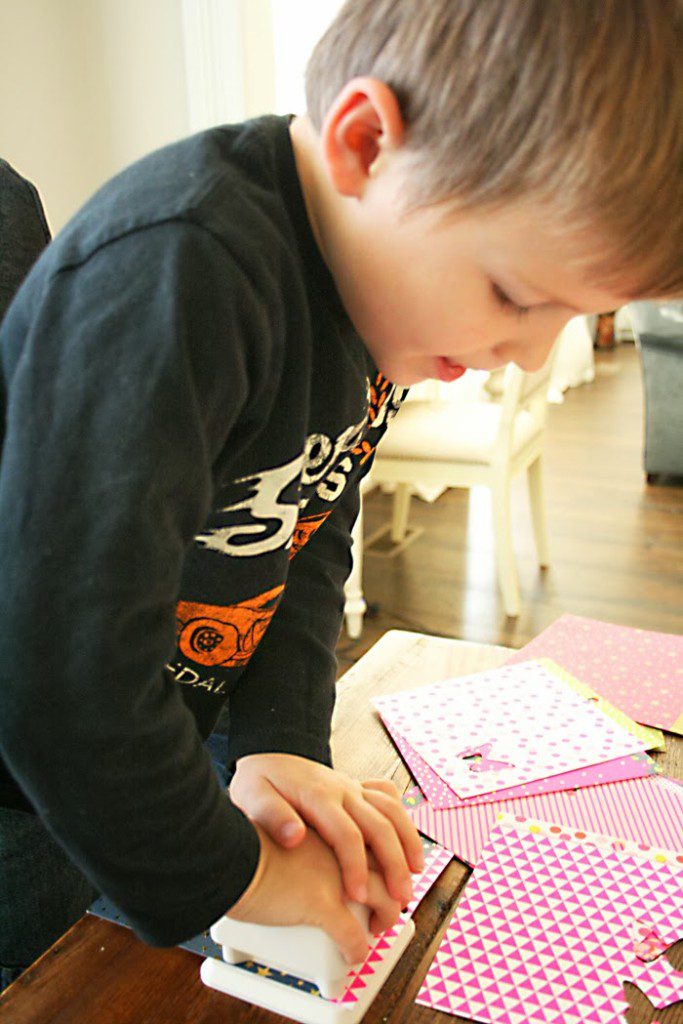
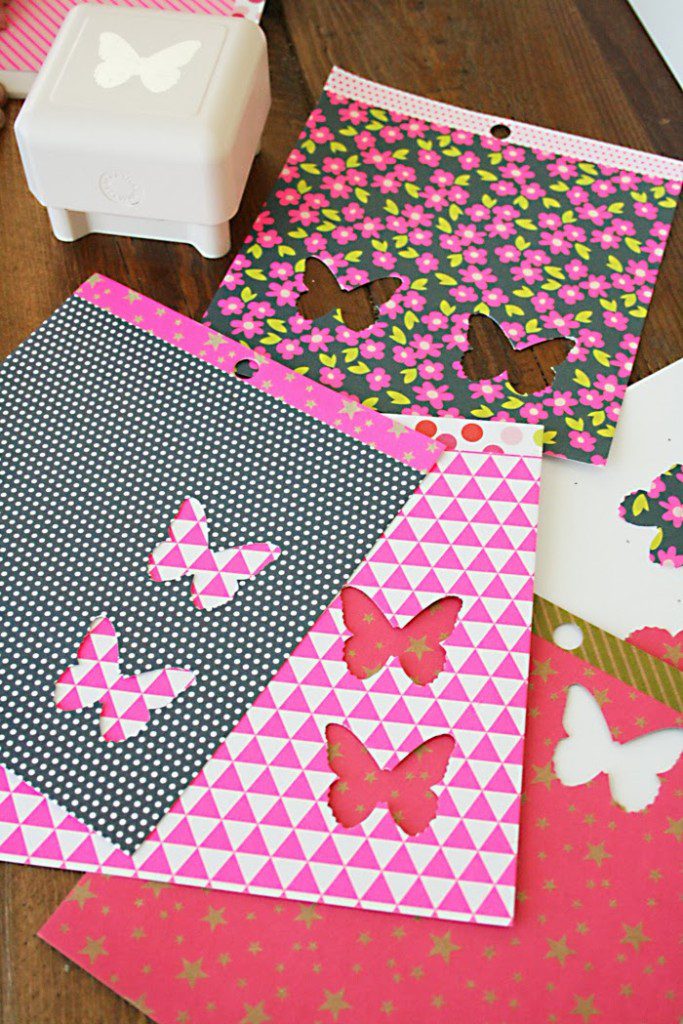
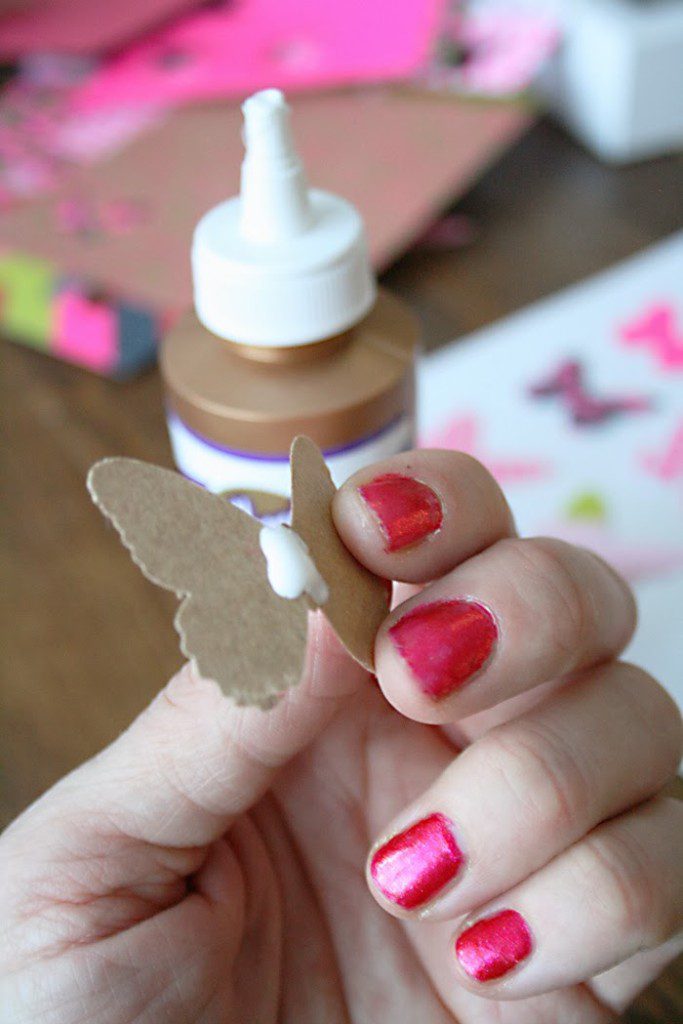
2. butterfly punch–we have the Martha Stewart butterfly punch. You can get it at Michaels and it’s easy for children to use.
3.glue
4.ruler
5.pencil
6.cardstock paper–cut down to the size that will fit in the frame
7.scrapbook paper–an assortment of colors
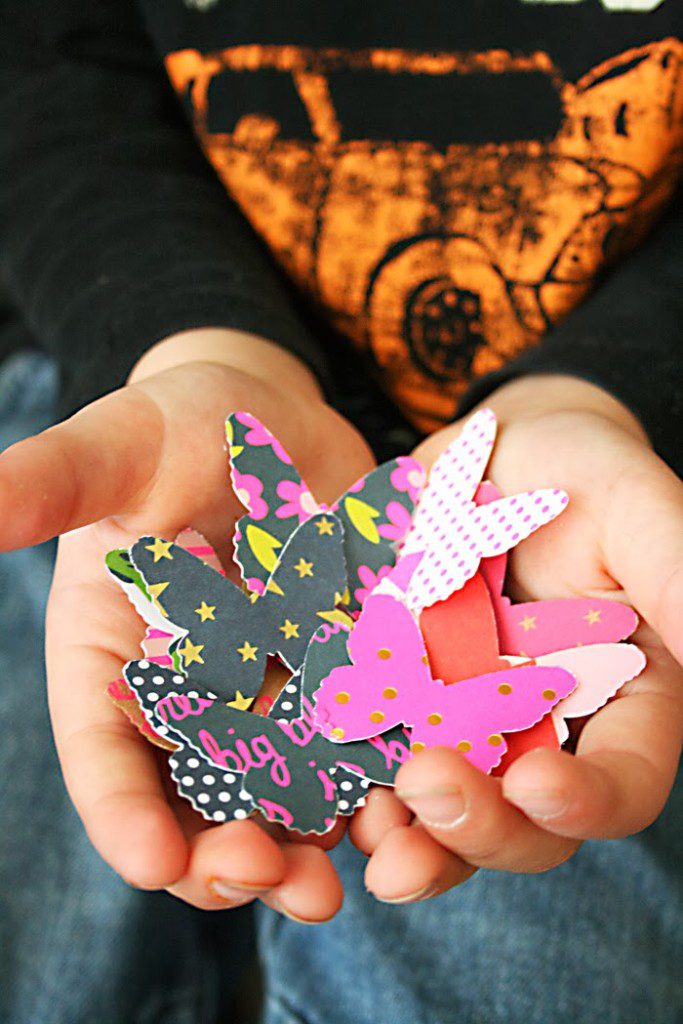
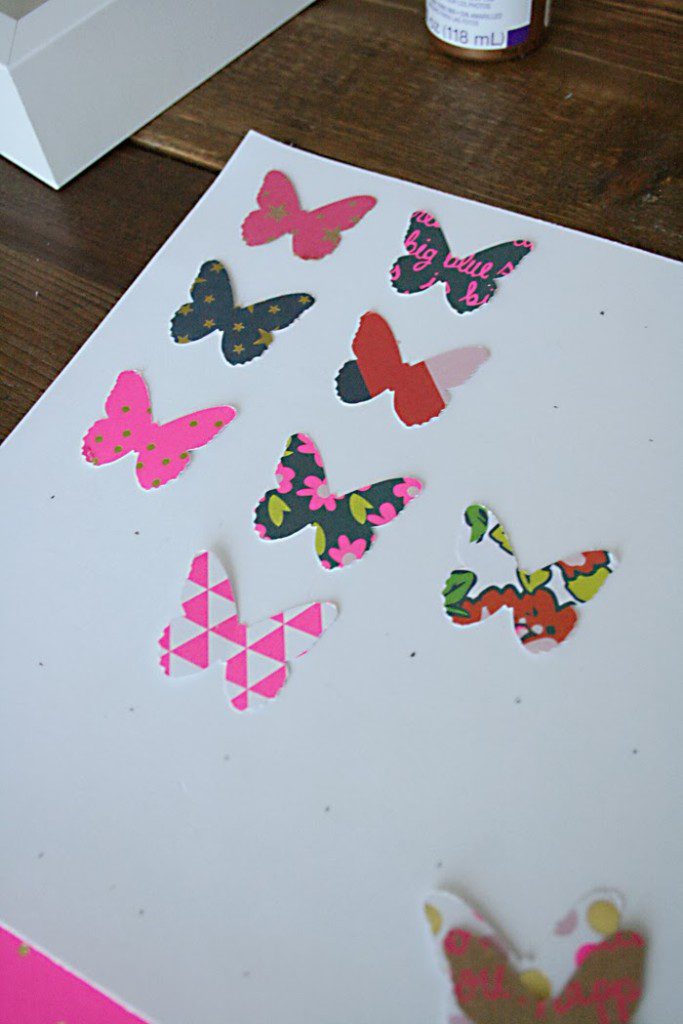
Have your little helper punch out as many butterflies as their little hands can handle. The MS butterfly punch snaps into place and then press down.
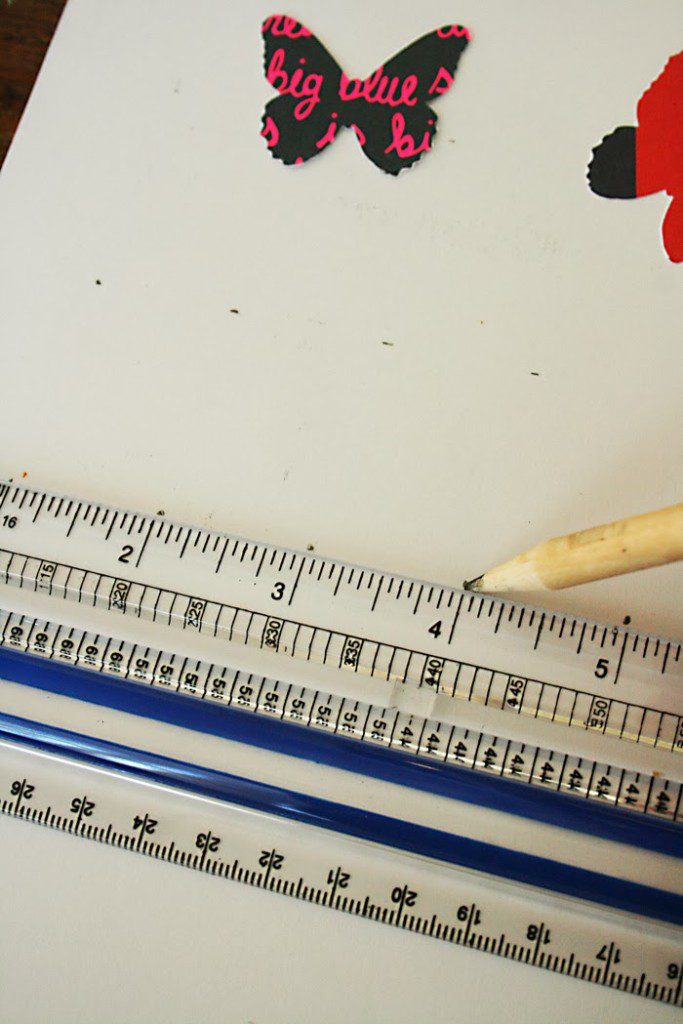
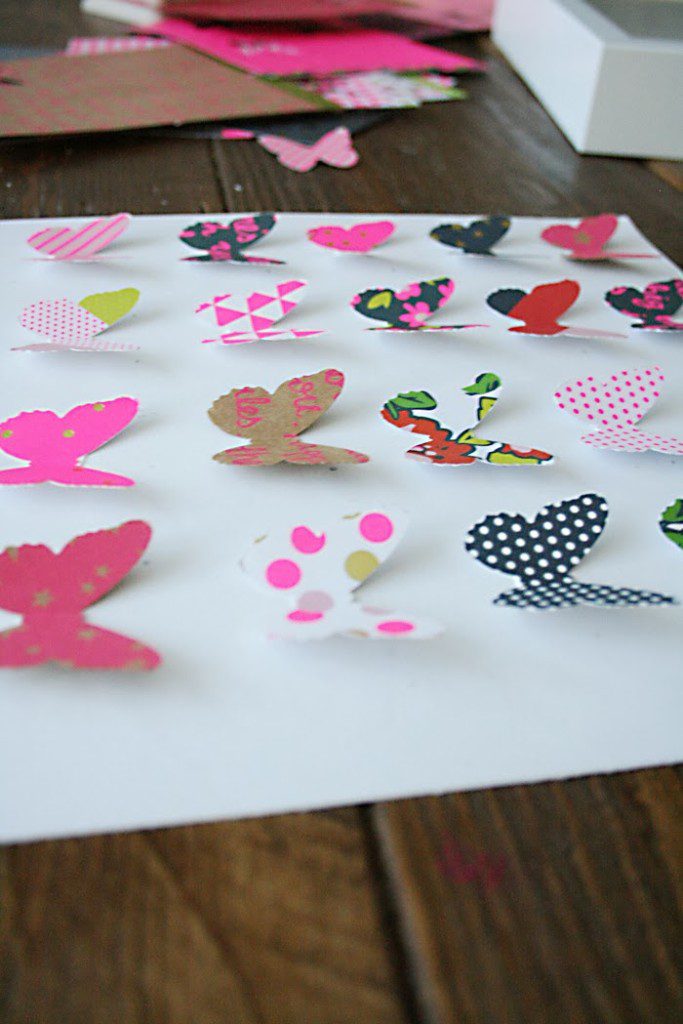
After punching out the butterflies, take your ruler and pencil and mark where you would roughly like the butterflies place on the cardstock. We kept it simple and modern with straight lines. Marking little dots, I measured every inch across and two inches down because the butterflies are about one inch in length and width. I wanted a little distance between each row.
Make adjustments if needed between rows.
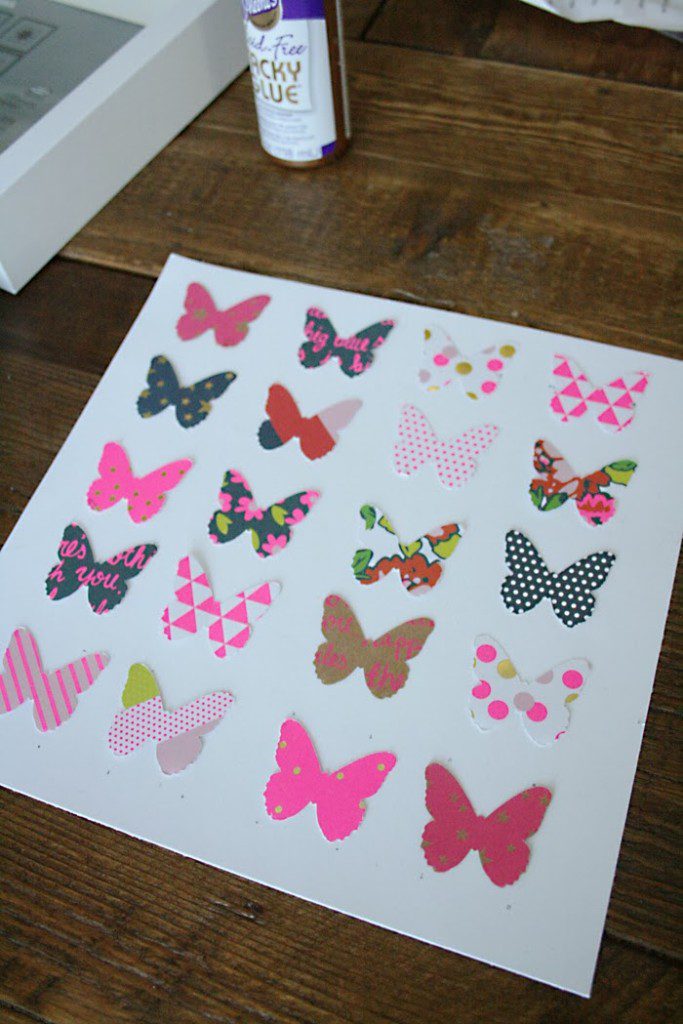
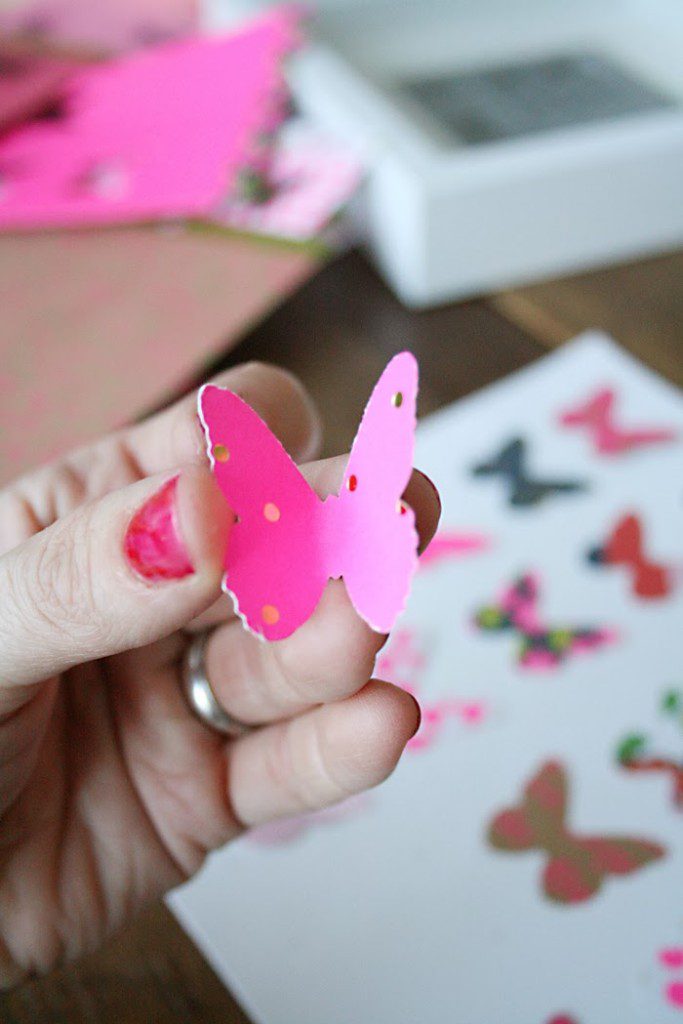
Once satisfied with your placement, one by one take each butterfly and slightly bend the wings toward each other to create a 3-D effect. Then squeeze a drop of glue on the backside and gently press the backside to the cardstock. Erase any pencil markings. Let it dry for about 30 mins
Once the gluing is done, let it dry for about 30 mins before placing it in the frame. Voil`a! Instant artwork.
The post Easy Paper Butterfly Artwork appeared first on Darling Darleen | A Lifestyle Design Blog.