
DIY Copper Round Plant Stand
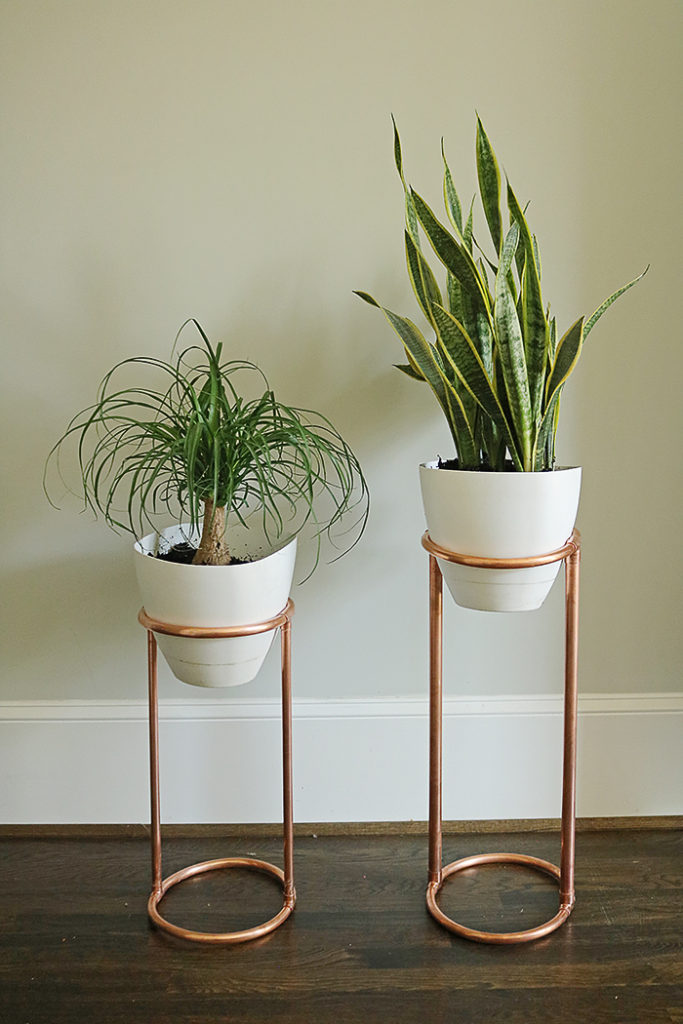
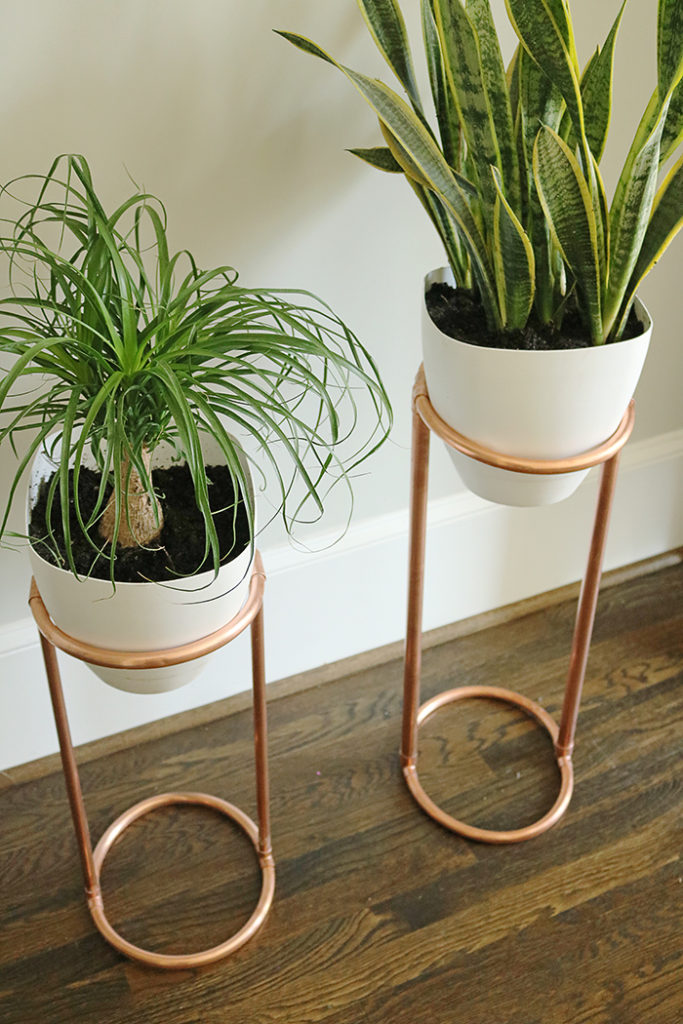
DIY Copper Round Plant Stand: Truth. I kill houseplants. Not by choice. I mean…I follow all the basic rules about taking care of a houseplant. But I guess I’m not the best at it, or maybe I missed a step, because in the end the houseplant dies. When it comes to outside plants, I’m pretty awesome at taking care of them…most of the time. But it comes more natural, and nature obviously helps me out. Inside houseplants not so much! So, I’m replacing my dead, wilting house plants with new live ones, and lets see if I can keep them alive at least longer than the last time. In the meantime, I needed a cute plant stand for my new house plants. I had left over copper pipes from my previous copper DIY projects so I decided to make a DIY copper round plant stand for my new plants. These copper round plant stands have a cute modern, mid-century style, and I’m loving how they look in the corner of my living room.
This DIY copper round plant stand takes about 30 minutes to put together. And then you will need to glue it and let it dry overnight so it sets and will be able to hold the planter pots. The results are a modern, mid-century plant stand that has an expensive look for the fraction of the cost.
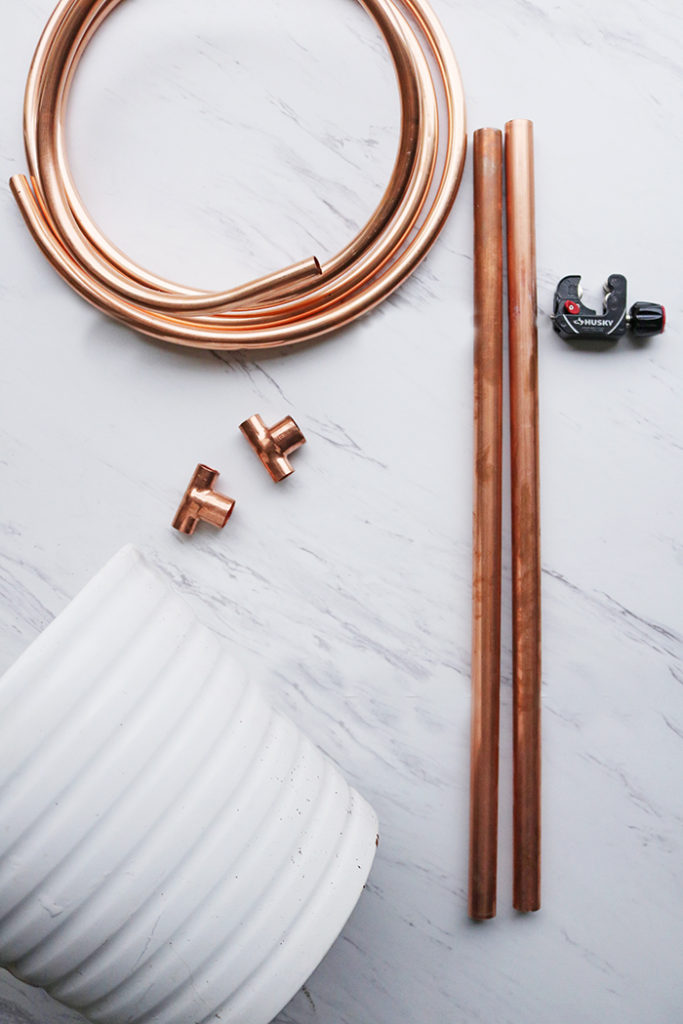

DIY Copper Round Plant Stand Supply List
4 x Copper Tee part
Black sharpie
Tape Measure
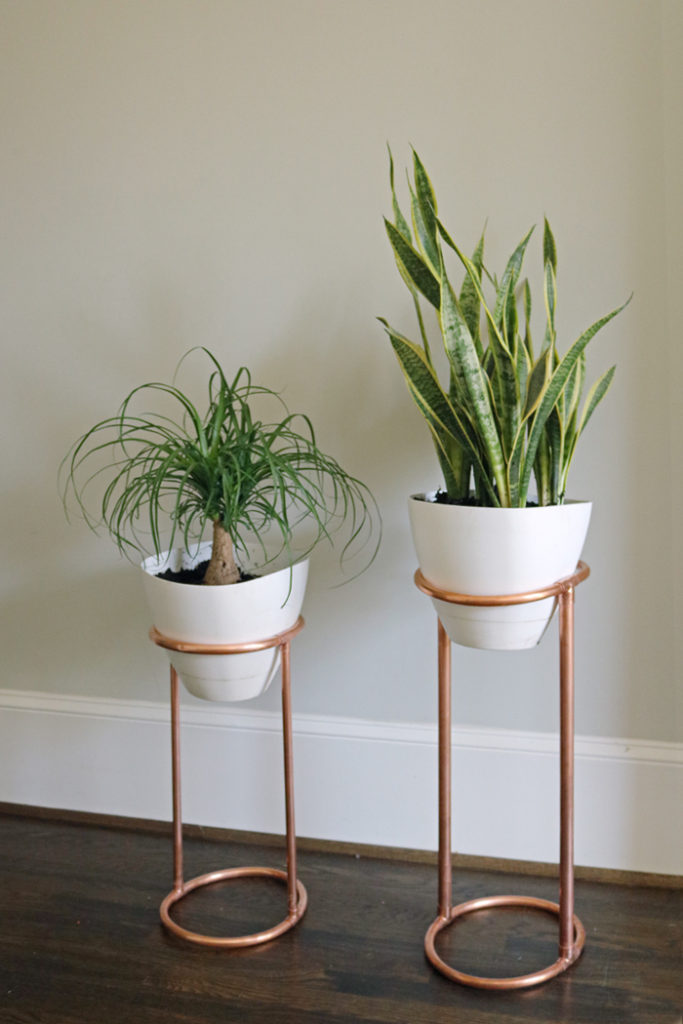
Instructions: When making this DIY copper round plant stand, you can really get whatever diameter you’d like for the copper pipes and coil. I had left over 3/4″ and 1/2″ copper pipes and copper tees so I bought 1/2″ diameter of copper coil to fit the Tee’s and pipes that I had leftover. It was the same thing with the height of my plant stand. I just accommodated with my supplies and cut the pipes exactly in half. You can see how to cut copper on here, and you will need to take your sharpie and tape measure to when you cut pipes. You don’t want to make a mistake! Copper can get expensive quickly. My taller plant stand is 25″ tall. I cut those pipes at 24″. The smaller plant stand is 20″ tall, and I cut those pipes at 19″. But again, you can cut them at however height you’d like. If I had extra pipes, I would of made smaller plant stand for a trio look.
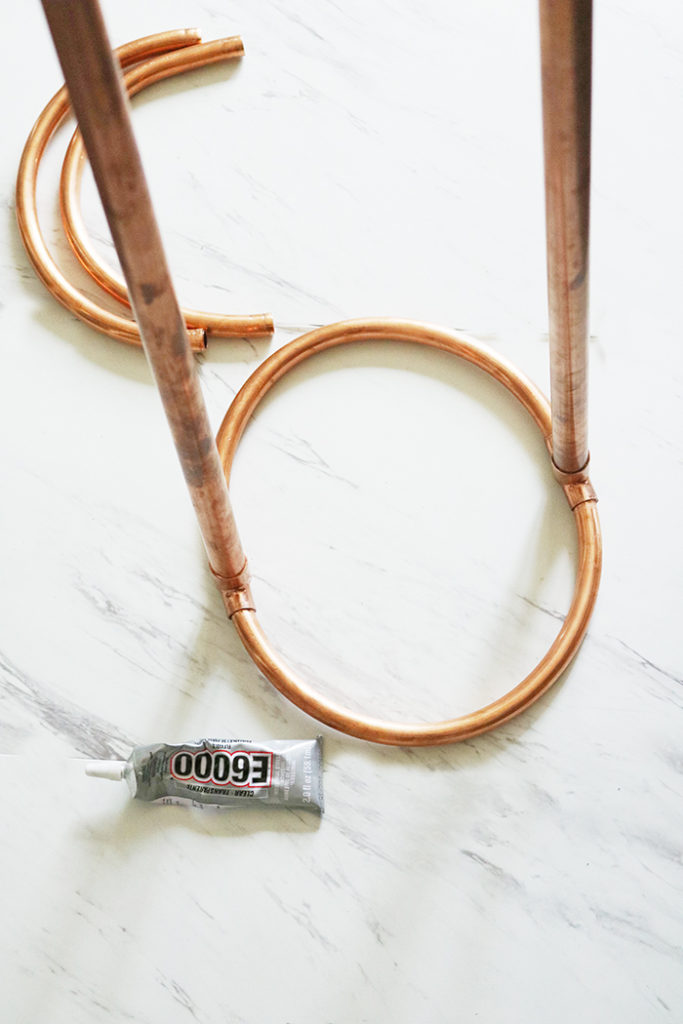
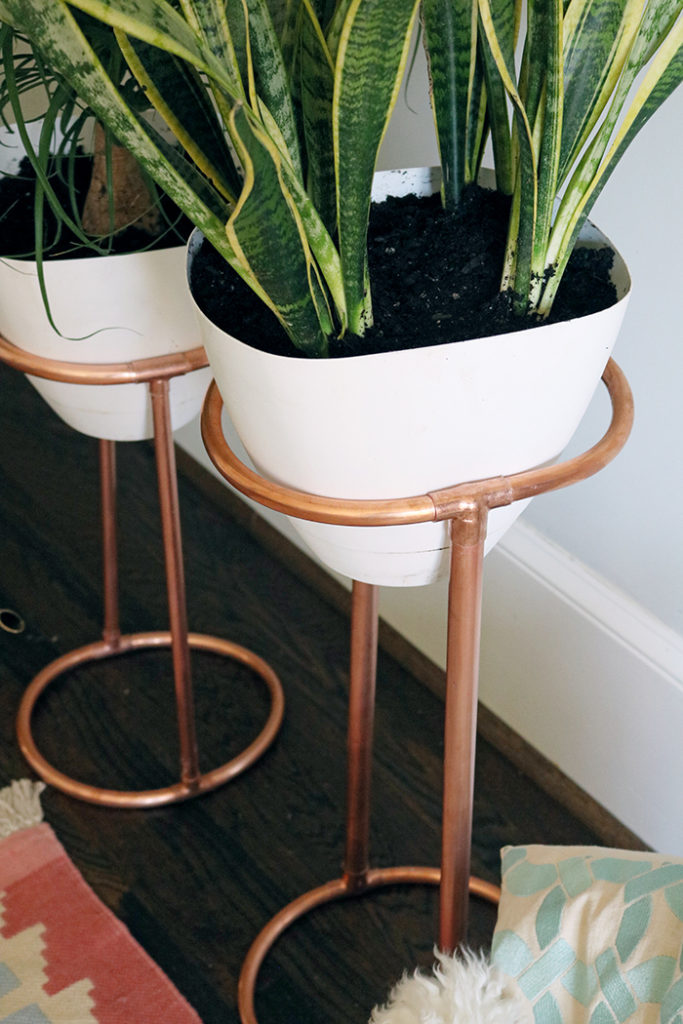
After you cut your pipes for the sides of the plant stand, you will need to cut the copper coil. Then measure the diameter of your pot. I used plastic pots instead of ceramic so it would conform better to the oval shape of the plant stand. If you want a more rounder plant stand, than your coil would need to be longer and pot wider, which I didn’t have at the time. I cut my coil at 16″ lengths, which worked good for my pots.
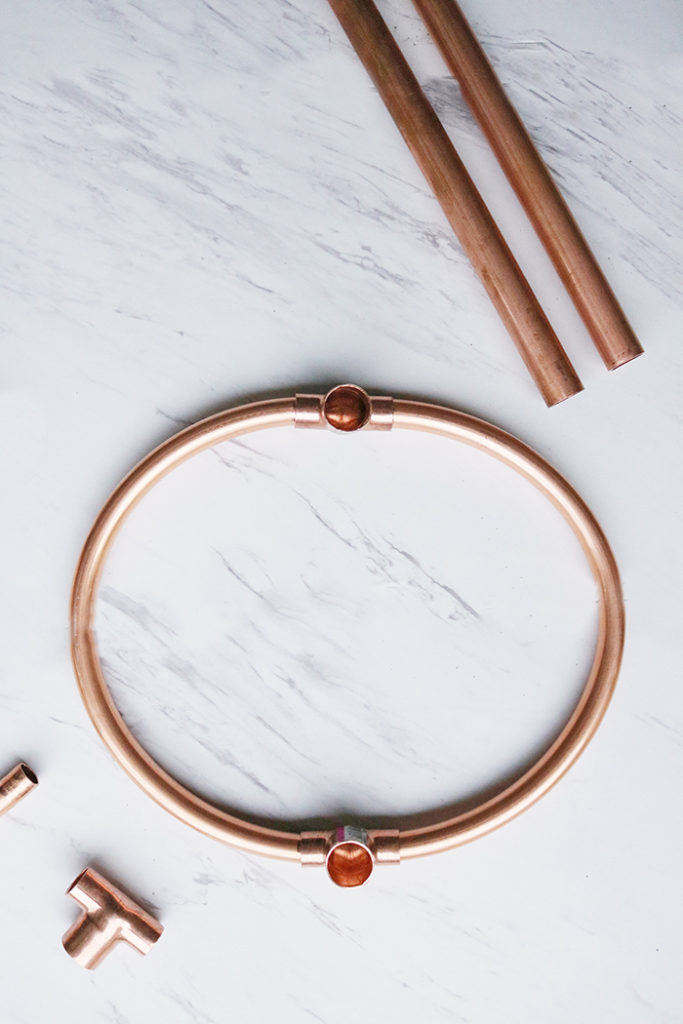
Once you have your coil cut, then you can assemble and add your Tee’s. Glue the ends together with the E6000. You may need to manipulate the coil so the shape forms together. Then you let it sit over night for the glue to set. Meantime, clean you copper plant stand with nail polish remover (to get any red ink on it) and copper cleaner. The next day, put your plant pots in it and enjoy!

You may also like
DIY Copper Clothing Rack

![]()
Here are some other modern round plant stands:


The post DIY Copper Round Plant Stand appeared first on Darling Darleen | A Lifestyle Design Blog.
