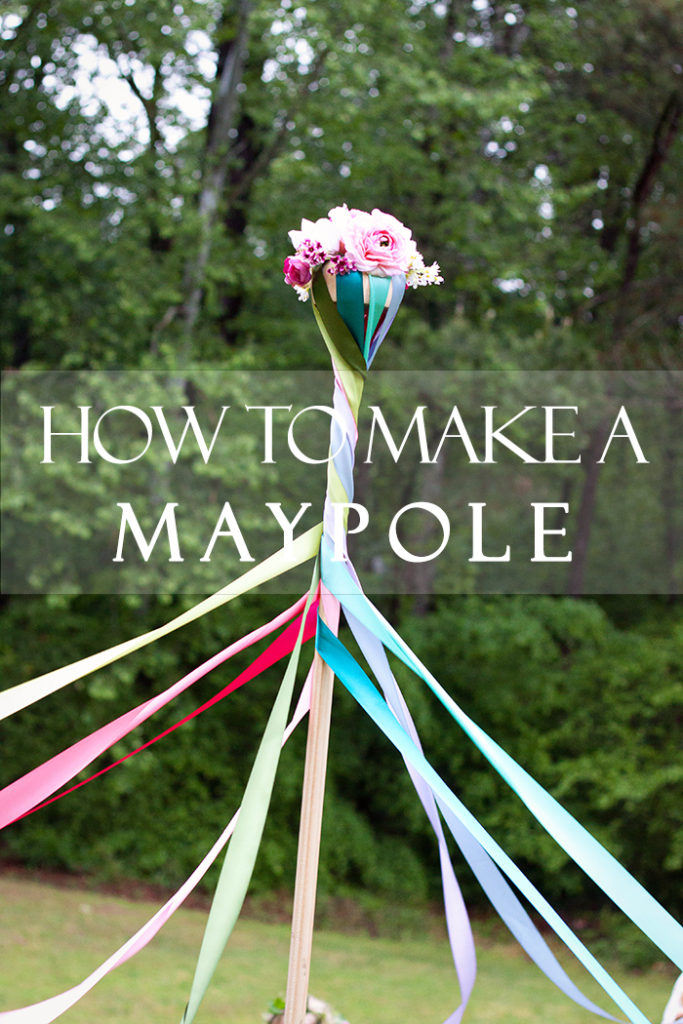

How To Make a Maypole
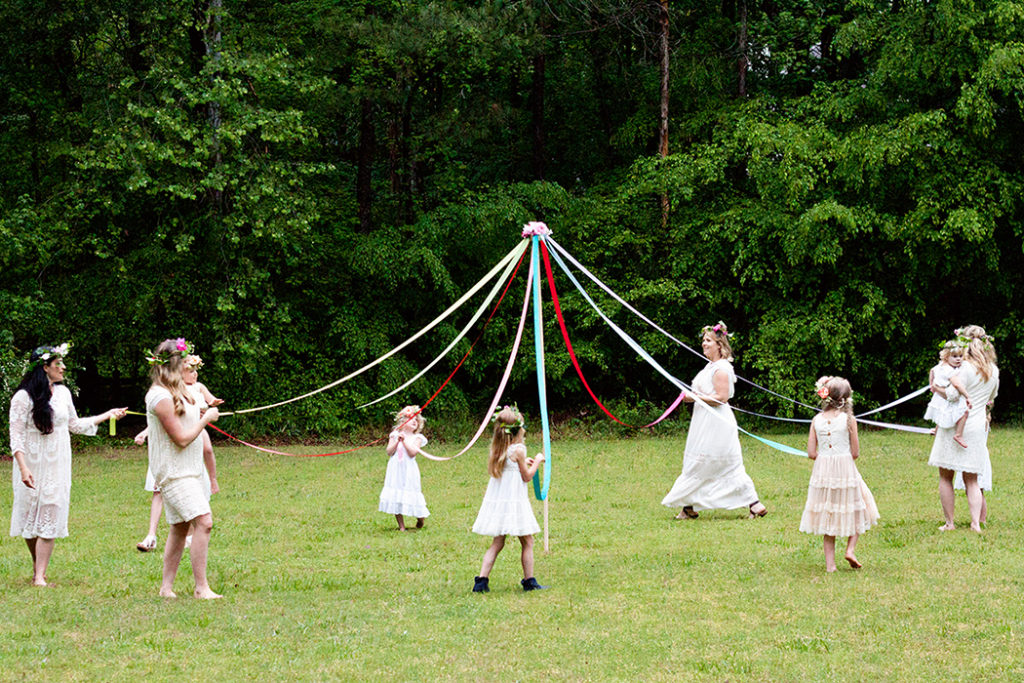
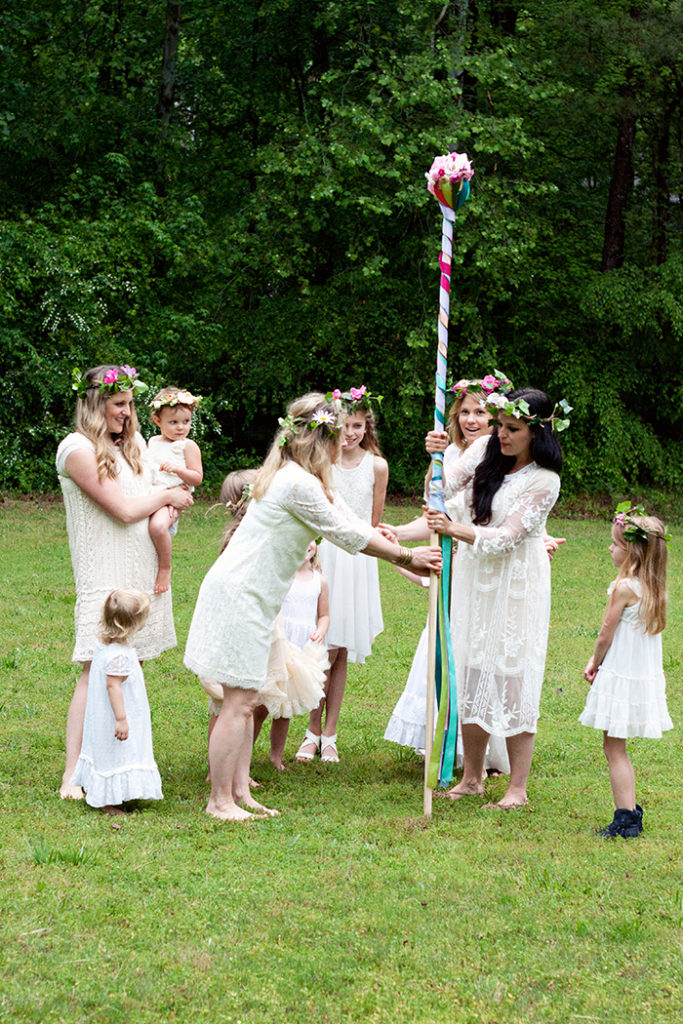
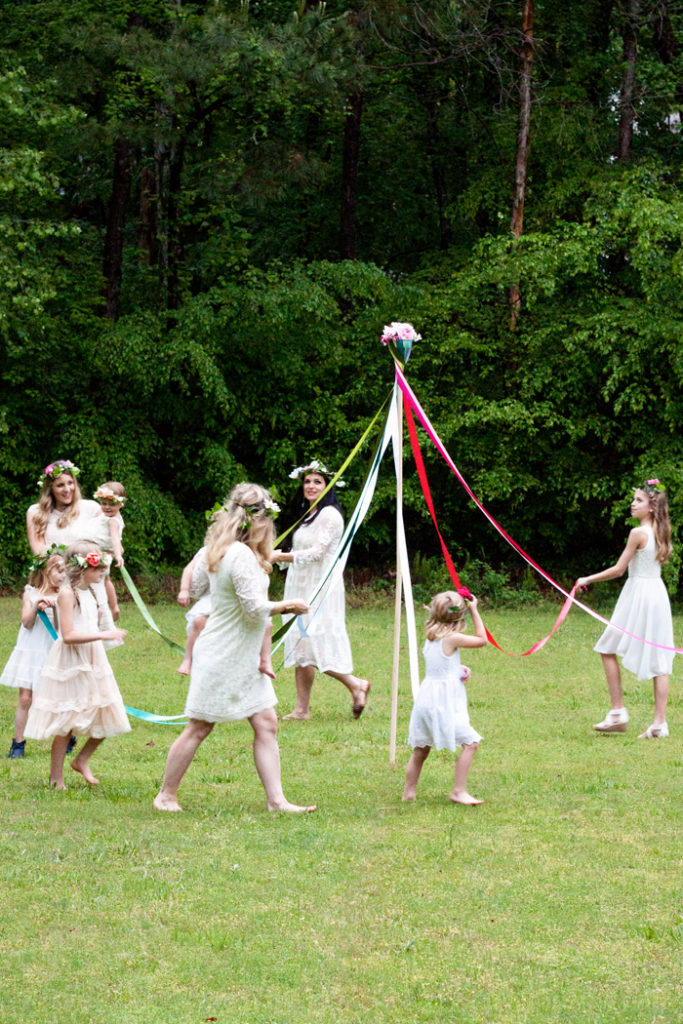
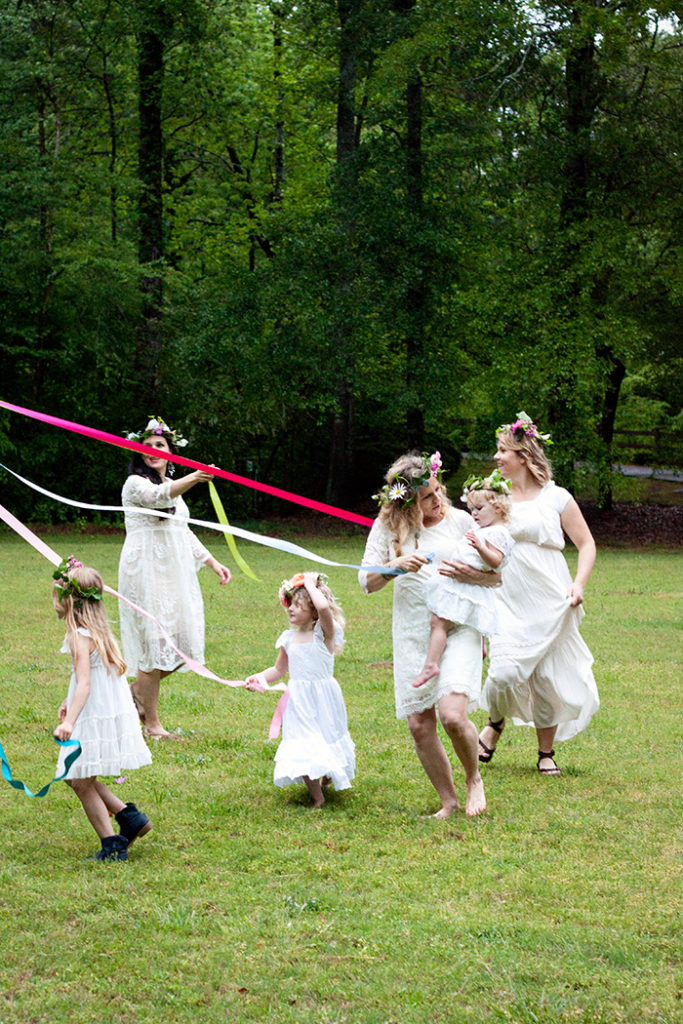
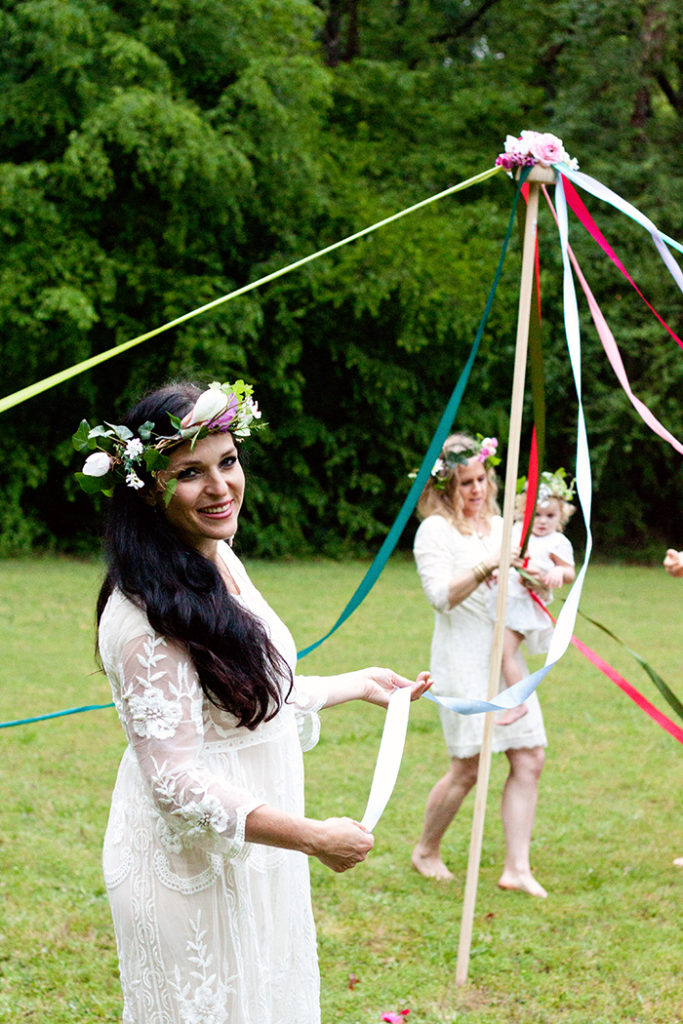
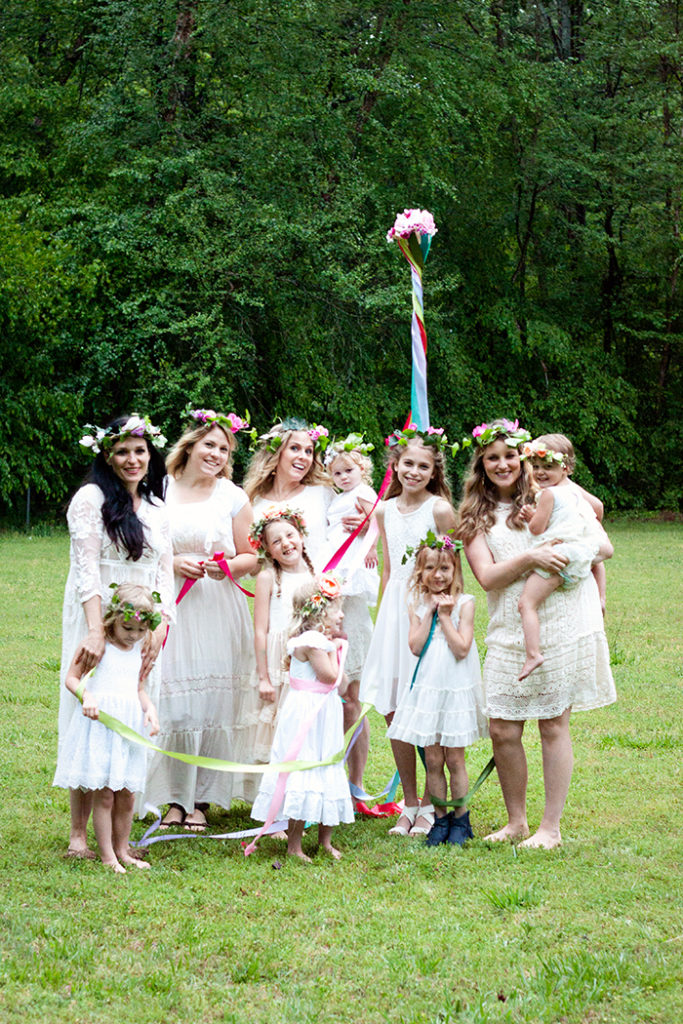
May Day is just around the corner (May 1st), and is a traditional Spring holiday in many European countries in celebration of Spring through dance. Learn how to make a Maypole for your May Day festivities. Usually we go around on May Day and hang a bouquet of flowers on neighbors’ door knobs. And this year, I thought it would be fun to dance around a maypole! The maypole dance is not just for May Day. It can be celebrated all throughout spring and into summer. How fun would it be to have a maypole at a Mother’s Day tea party or a summer picnic or a little girl’s garden birthday party? Children (or mamas) can dance around the pole, braiding the ribbon by going under each other, over each other or cross each other’s path. I will show you an easy way on how to make a maypole that will last for many summer parties to come.
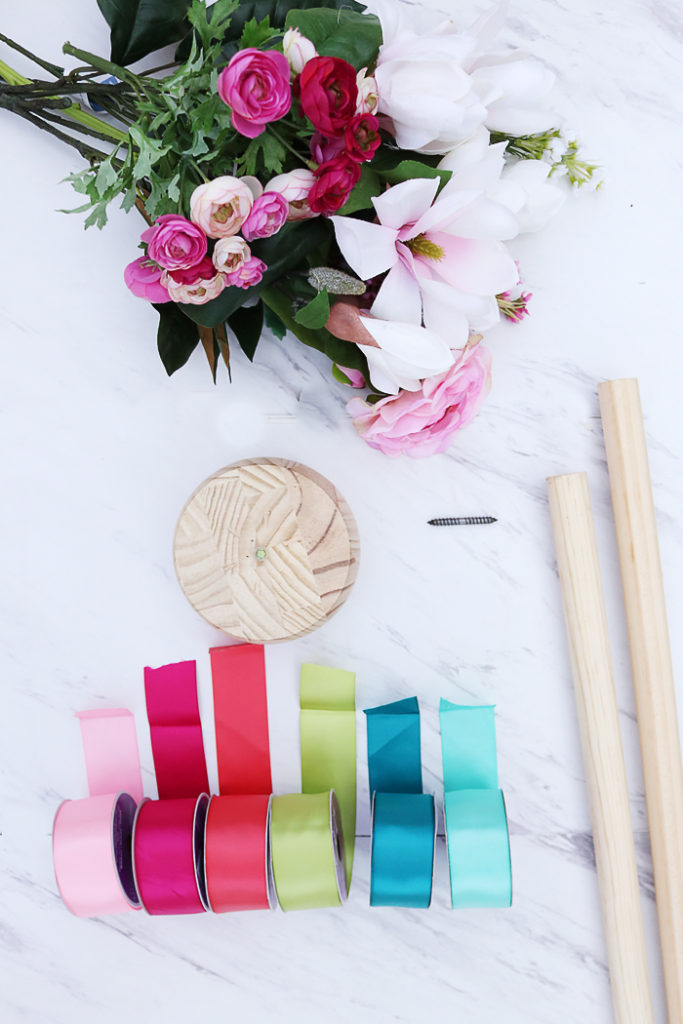
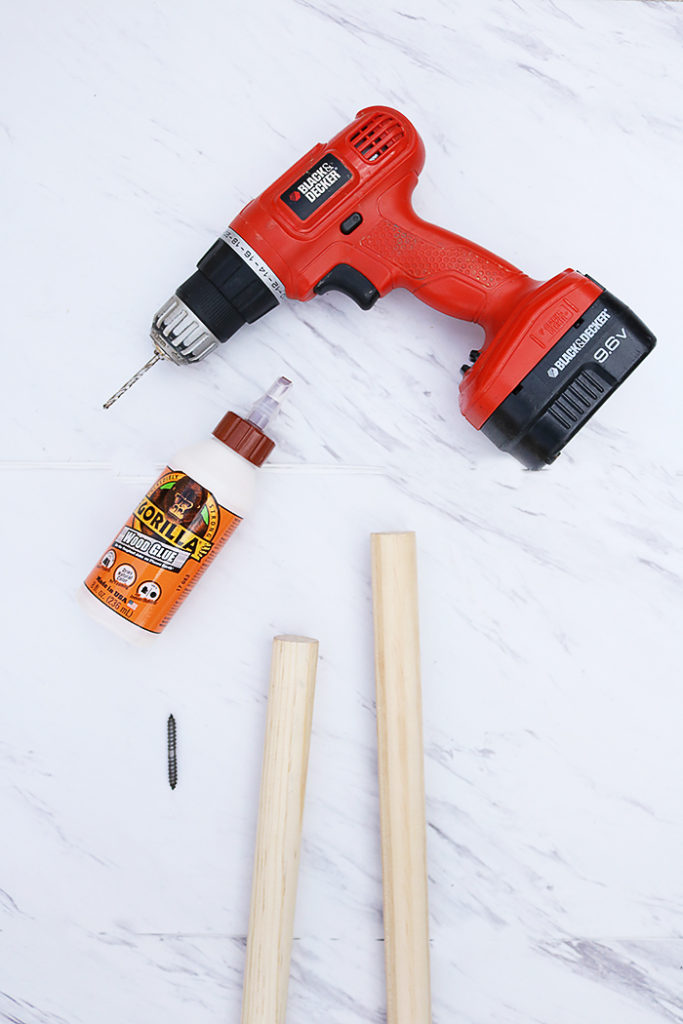
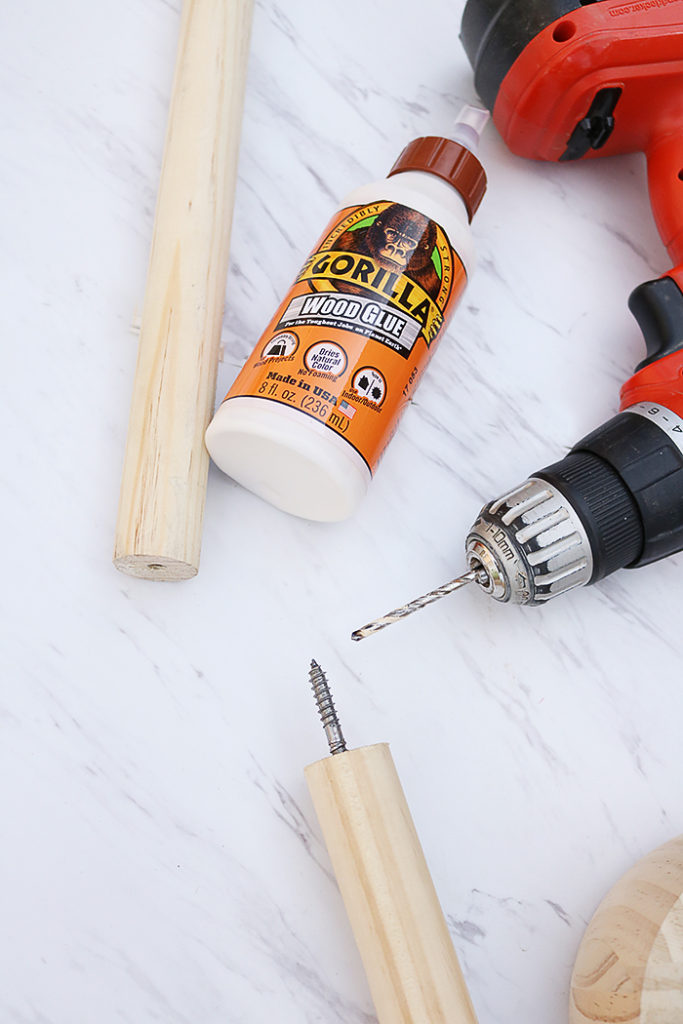

Supplies for How to Make a Maypole
Two wooden dowels-1 1/4″ x 72 ”
Drill
Afloral assorted silk flowers–the flowers I used were mini silk ranunculus bush, magnolia silk bush in blush, waxflower spray in white and mauve pin and 25″ ranunculus spray pink
1 x dowel screw
Round wooden rosette with blunt screw
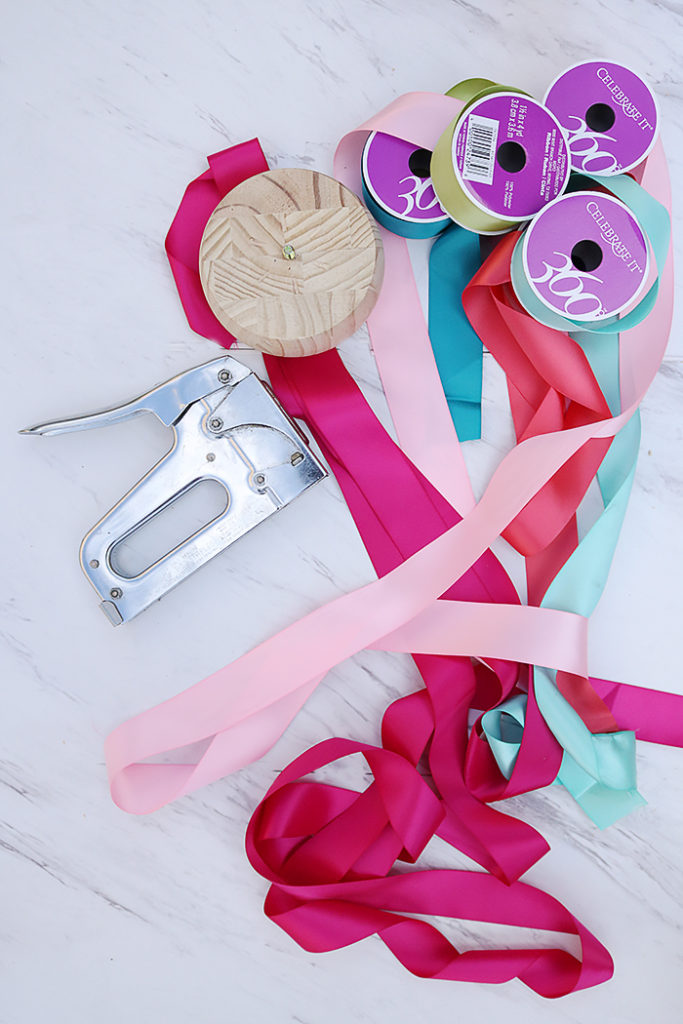
12 rolls of assortment of silk ribbon 1″
staple gun
wood glue
hot glue
hand saw
Instructions for How to Make a Maypole
1. Take your wooden dowels and drill a hole, slightly less than the diameter of your dowel screw, through the center of the top of the dowel on one side of each wooden dowel.
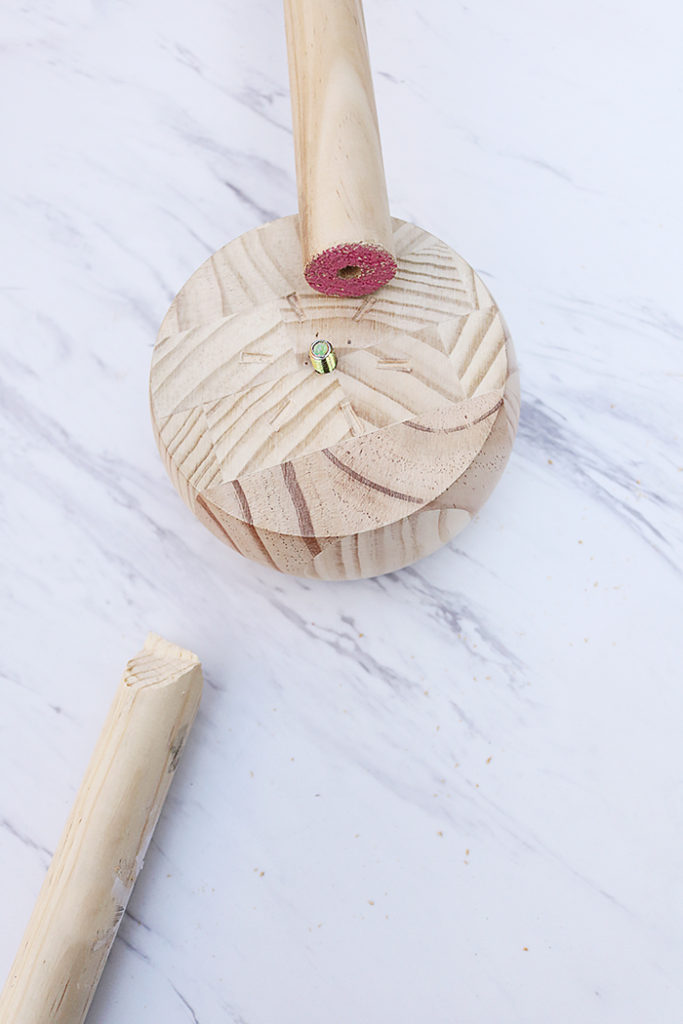
2. Squeeze wooden glue in one of the drilled holes. Then take the dowel screw and screw it in the dowel all the way. Let it dry for a few hours so the screw will be firm in the dowel, preferably 24 hours. When you assemble to poles, you will screw the dowel with the screw into the other drilled hole on the other dowel. Once assembled, the pole will be about 12 feet tall. This will make it easy to transport the maypole and take your maypole dancing to the park, friend’s backyard or any open grassy area.
3. Take the other wooden dowel that does not have the dowel screw in it. The opposite end of the drilled hole, use your saw to shave down the edges to make it have a point or a V-shape so it will be easy to hammer the pole into the ground.
3. Now take the other wooden dowel that does have the dowel screw in it and drill another hole on the opposite side. Put wood glue in it and screw in the round wooden rosette with the blunt screw in the dowel. Let it dry.
4. If you’d like, you can spray paint your maypole. Or keep it natural.
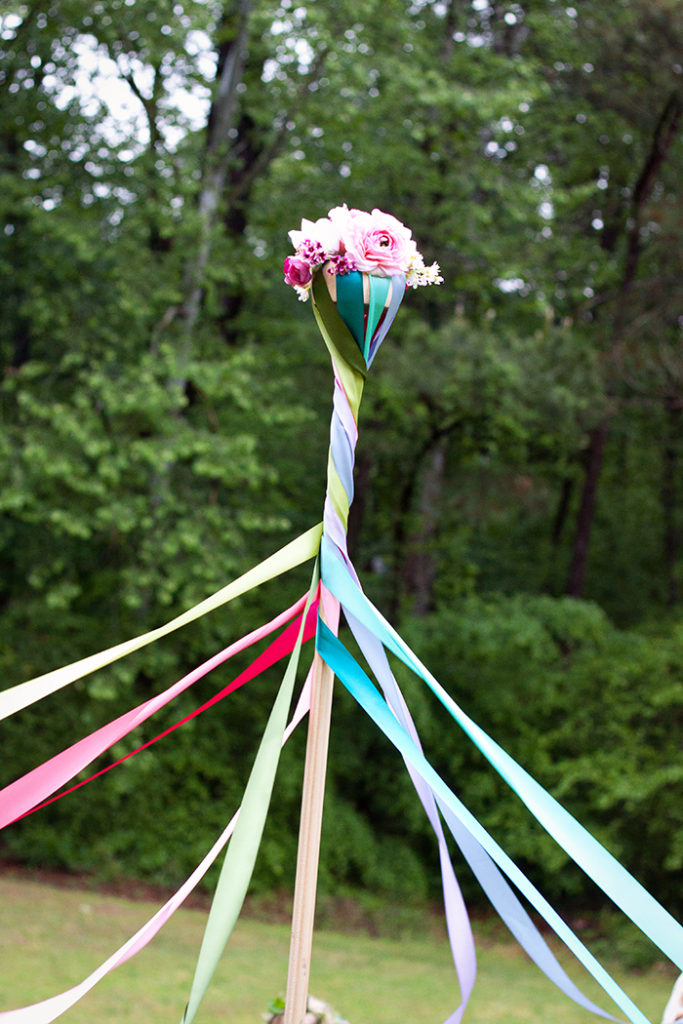
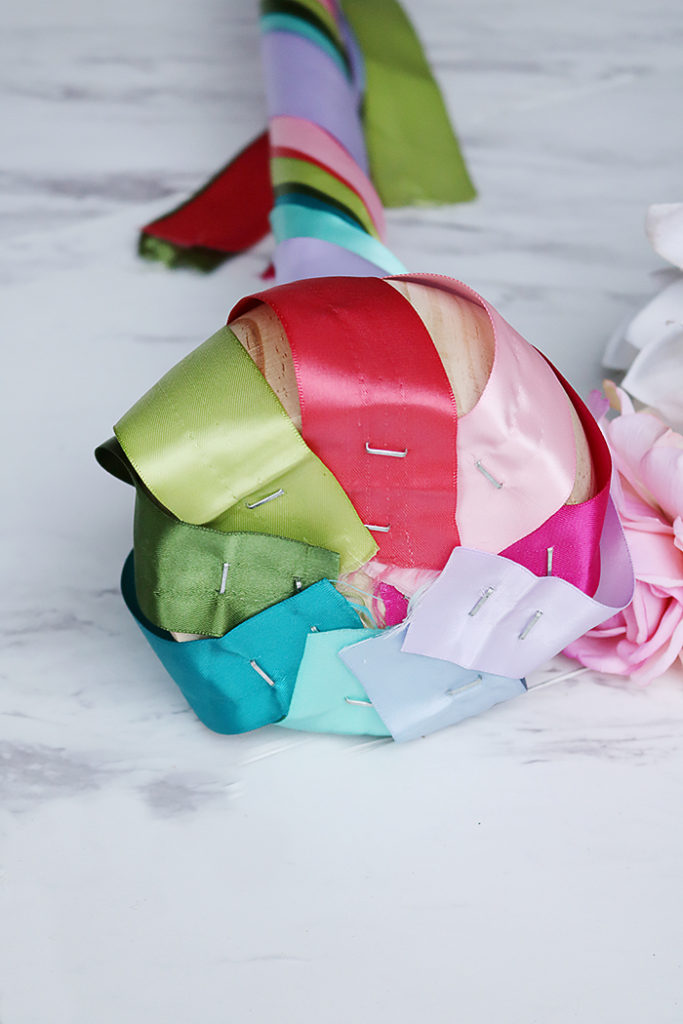
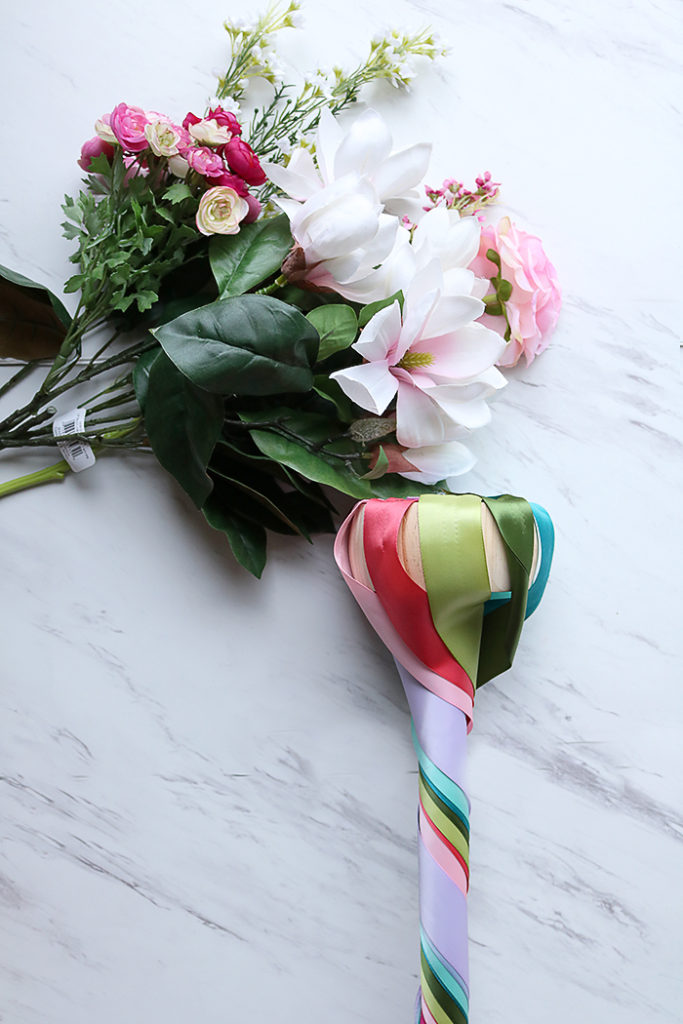
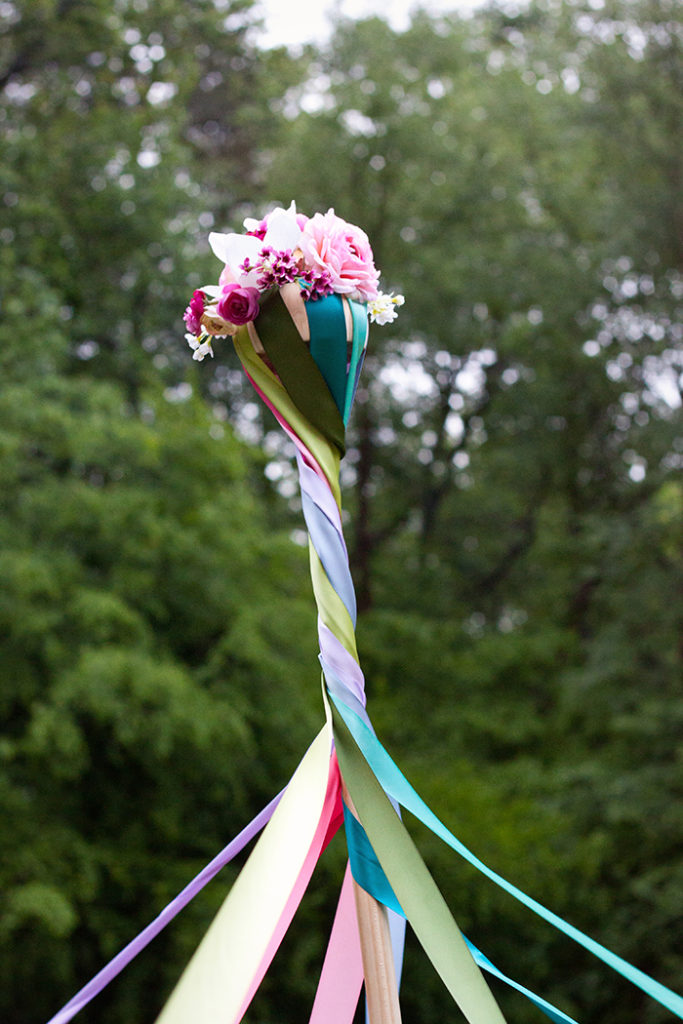
5. Take your ribbon and staple gun and staple one end of each ribbon at the top of the round wooden rosette. Unravel the ribbons and then gently wrap the ribbon around the pole.
6. Grab your Afloral.com silk flowers and pull the flower buds off the stems. Hot glue the larger flower heads on the top of the round wooden rosette and then the smaller flowers.
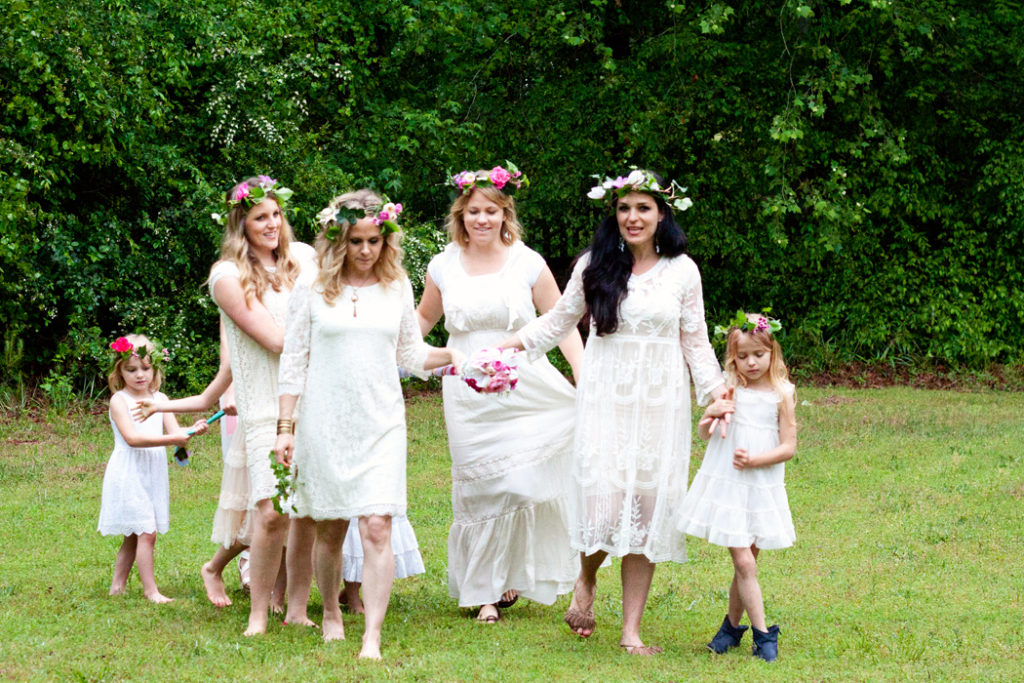
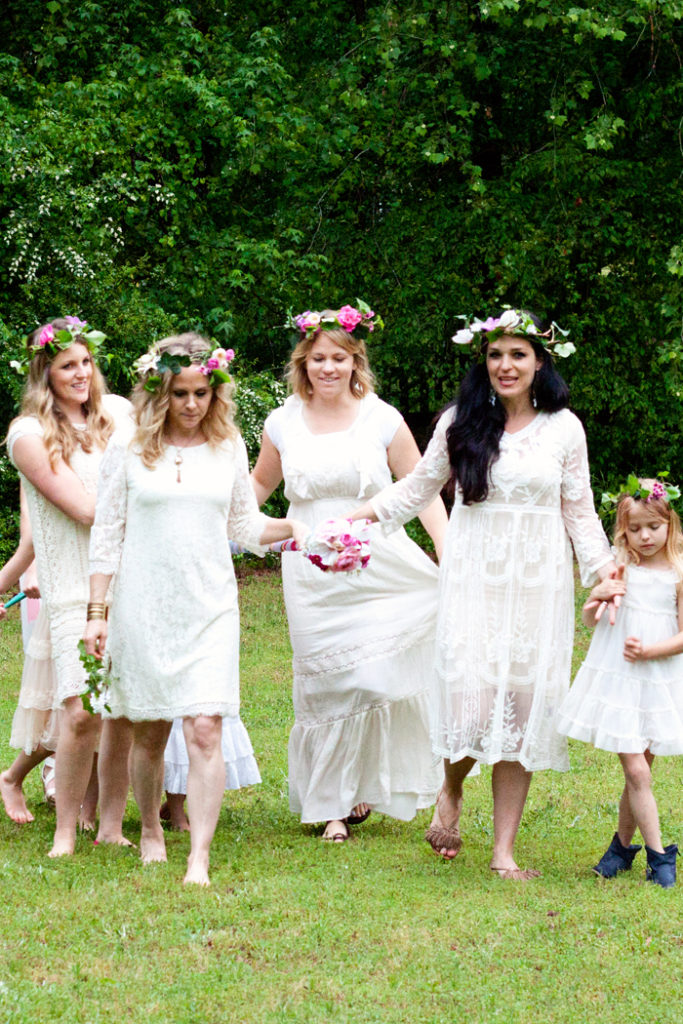
7. With any of your leftover silk flowers, make flower crowns for your dancers.
You are just about ready to dance around the maypole! Before you head out, grab a hammer. You will need it to hammer the bottom pole in the ground. Hammer it in a few inches in the ground to make sure it’s secure. Then screw the top dowel into the bottoms dowel. Unravel the ribbons. Each dancer holds onto a ribbon and then dances around the maypole!

Thank you Afloral.com for sponsoring this post!
Styled Photography: Melissa Udall Photography
Thank you to these cute mamas and their babies for helping out on How to Make a Maypole post–Melissa Erickson, Candice Munk, Lizzy Nielsen
The post How to Make a Maypole appeared first on Darling Darleen | A Lifestyle Design Blog.


