
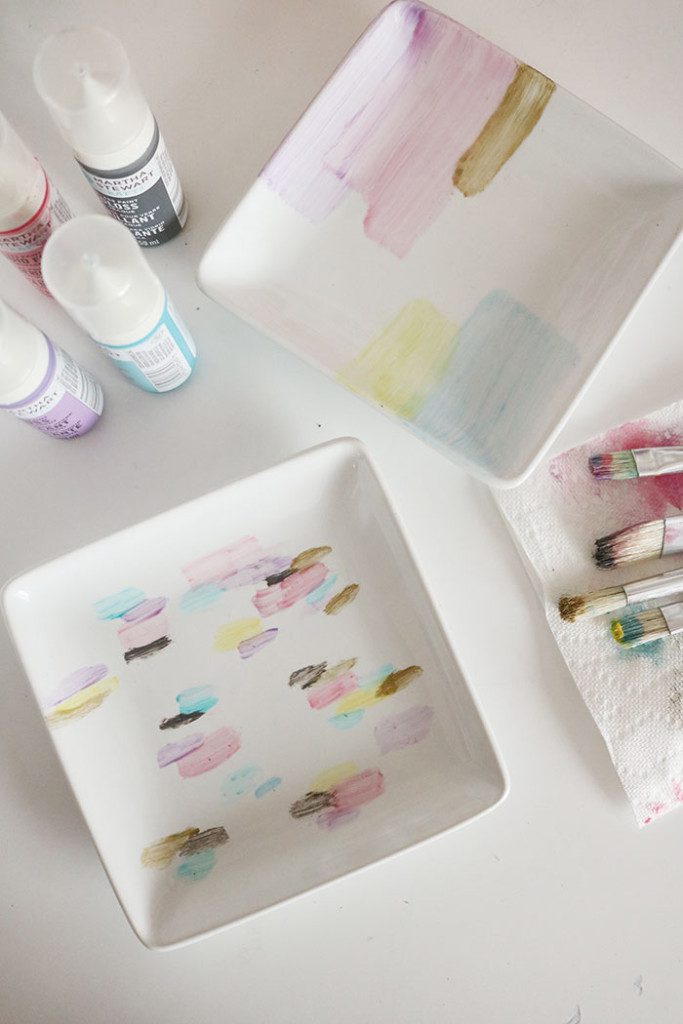
DIY: Painted Watercolor Tray : I love to be a receiver of something handmade or created. And I love to gift things that are handmade. It just makes the gift a little more personal and sentimental. Taking the time to make something for that person sure sends a message of love. Don’t you think? This DIY painted watercolor tray is the perfect gift to give for valentines or mother’s day–a catchall for jewelry or keys. And of course you should just make one for yourself while you are at it too because its so cute and cheap. The ceramic tray was from the dollar store and the paint cost about $5. This DIY painted watercolor tray is actually painted with glass paint, but the brushstrokes give it a nice watercolor effect.
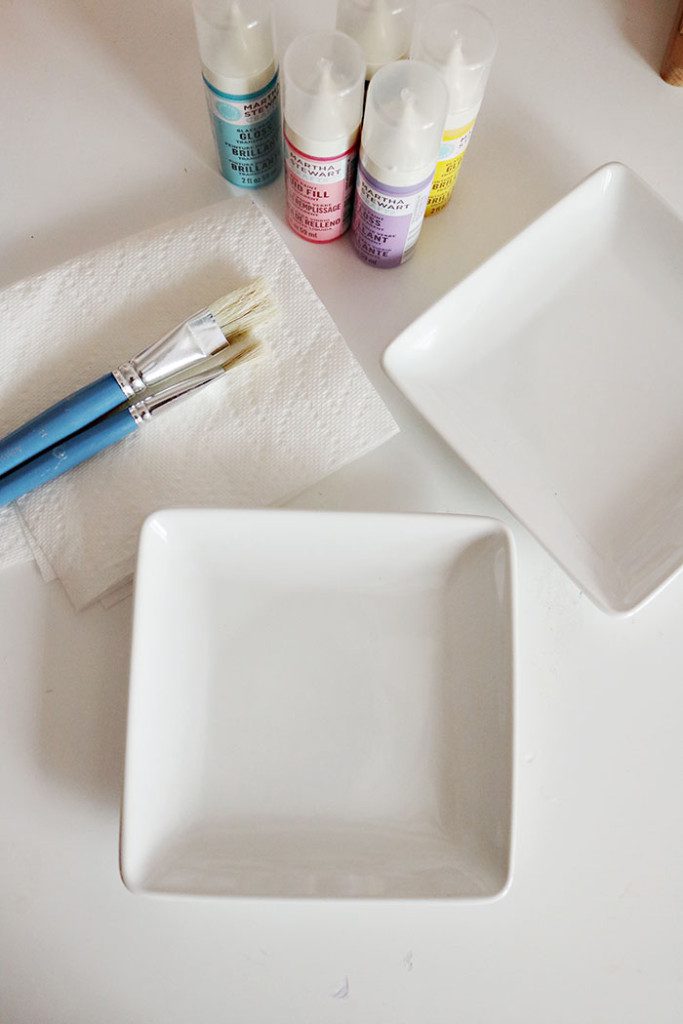
Supplies
Tray
Paper towel
Make sure your surface is clean and dust free by wiping with a moist paper towel and rubbing alcohol. Allow to dry.
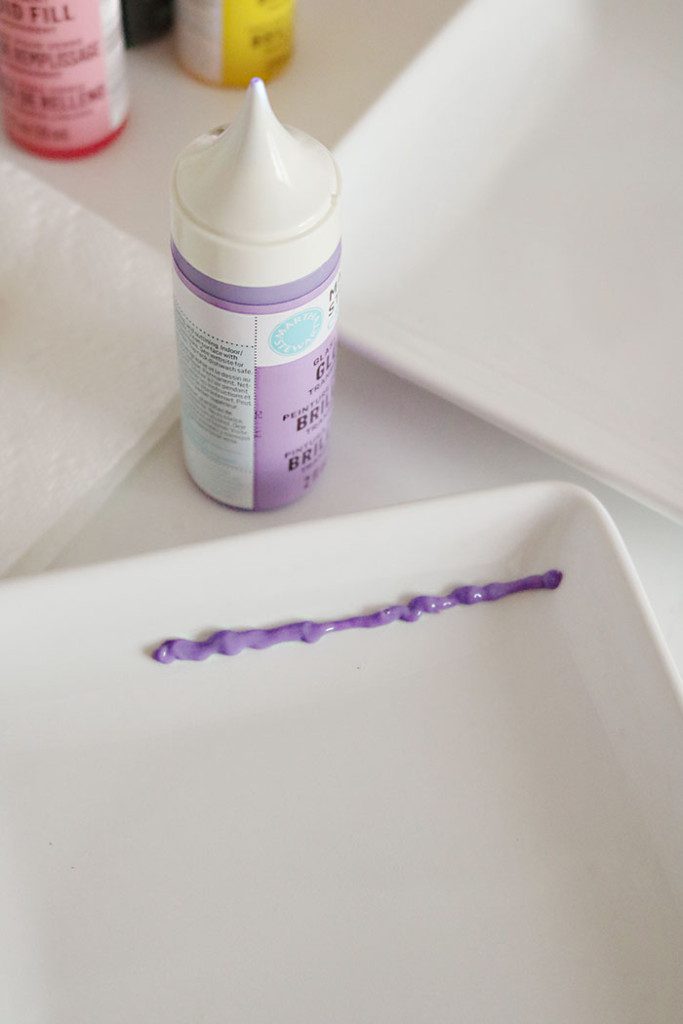
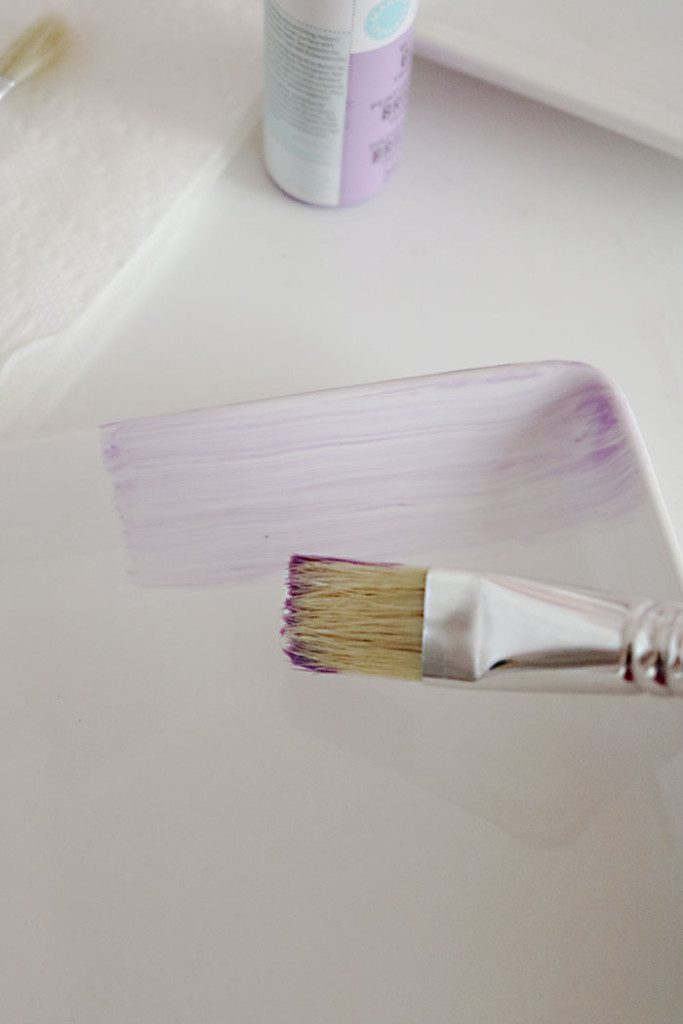
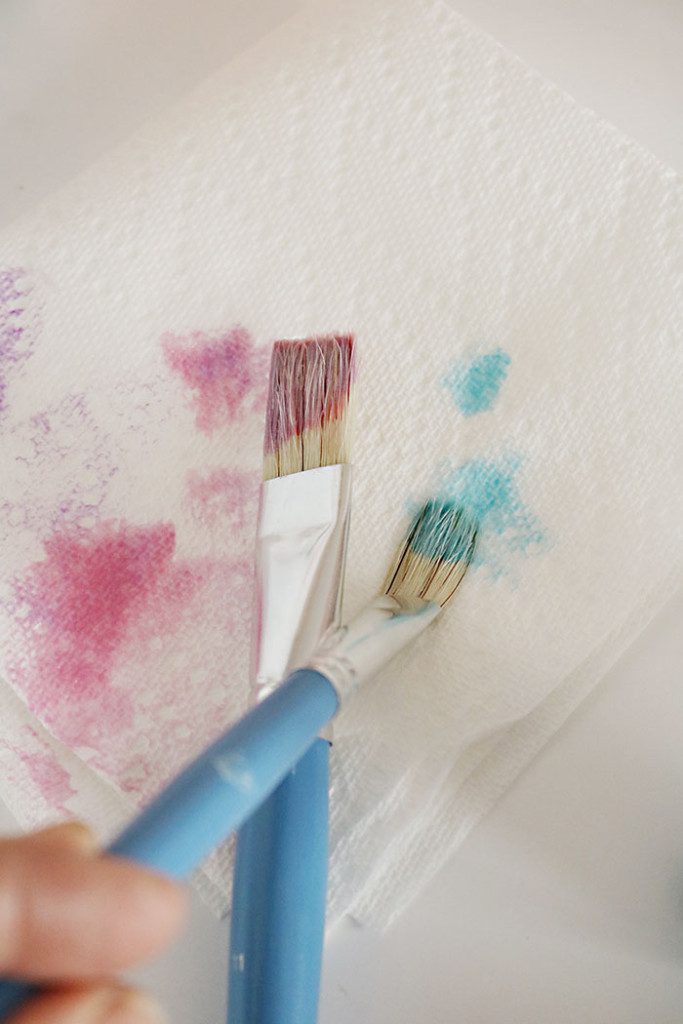
You can directly apply the paint from the paint bottle, unless you plan to mix colors. Squeeze a line of glass paint any length you desire. Using a wide paint brush, lightly brush and spread the paint. Repeat with different colors. Light brushstrokes until it is even in color. You can overlap colors that are next to each other to create more of a watercolor effect. Wipe the paintbrush on a paper towel in between color switches.

For this tray I squeezed paint dots, then using a thinner paint brush brushed over it. I also added gold metallic paint and gray to add some neutral colors to the color palette. Once the paint has completely dried (30 minutes), bake to cure the paint. Place ceramic tray into a cool oven. Set over to 350F and bake for 30 minutes. Ceramic surface must heat gradually with the oven to avoid breakage. Do NOT place glass in a hot oven. After 30 minutes, turn the oven off. Allow ceramics to cool completely in oven. Wait 72 hours before using.
As you might notice, when the paint heated it slightly changed the color of the glass paint making it not as vibrant. If you don’t want the color to change, don’t heat and instead use the Air Cure technique. Air dry completed project for 21 days before using.
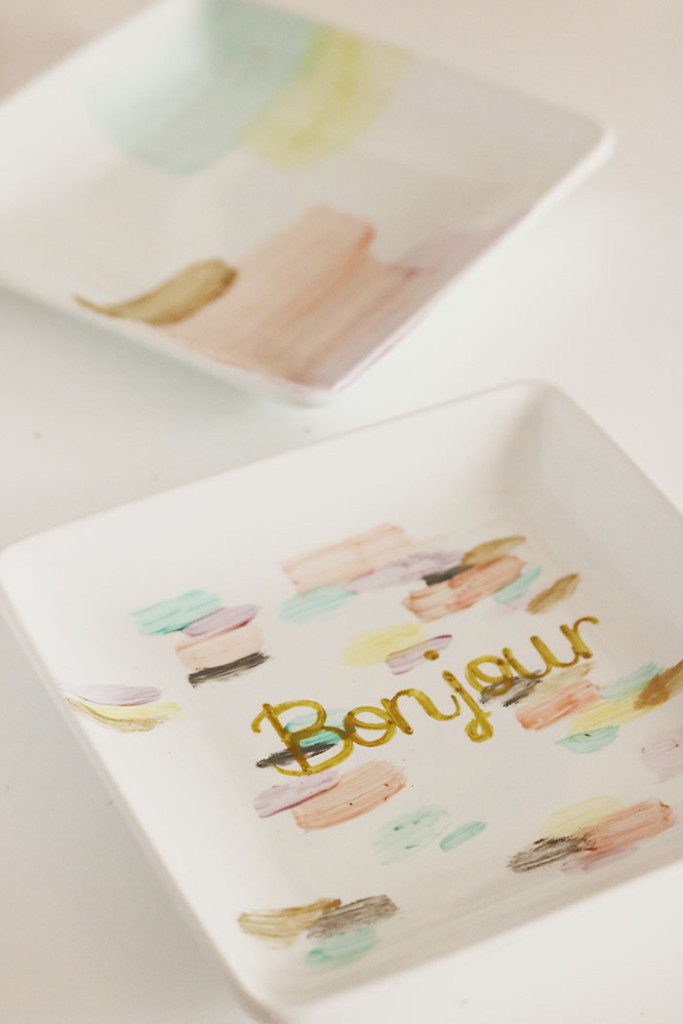
So I wanted to add some text. It just adds another visual element and again makes it more personal, especially if you add a phrase or word that takes meaning. So following the same technique I did for my DIY Thanksgiving plates , I used metallic gold DecoArt glass paint marker and made a stencil with my Machine + Tools & Mats Set” target=”_blank”>Cricut Explore . THEN, I do the bake and cure technique.
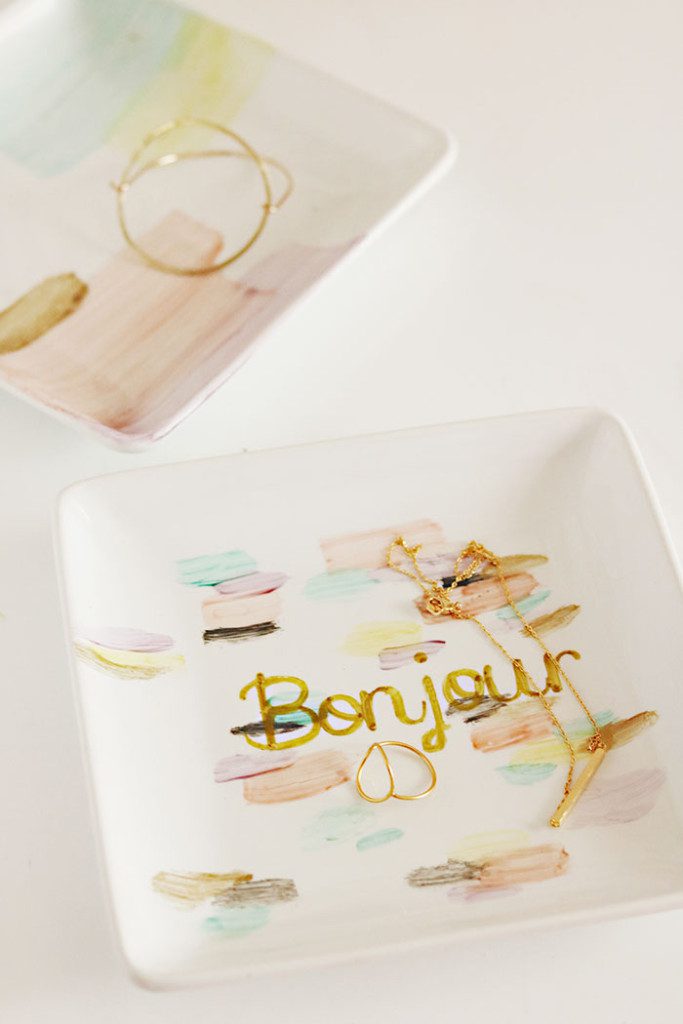
Once cooled, display and add jewelry or keys! Or wrap up and give it away as a gift. Having fun making your DIY painted watercolor tray!
All jewelry from my S H O P
Try these other trays and jewelry projects:


DIY Constellation Horoscope Jewelry Dish


Steal the Look
