


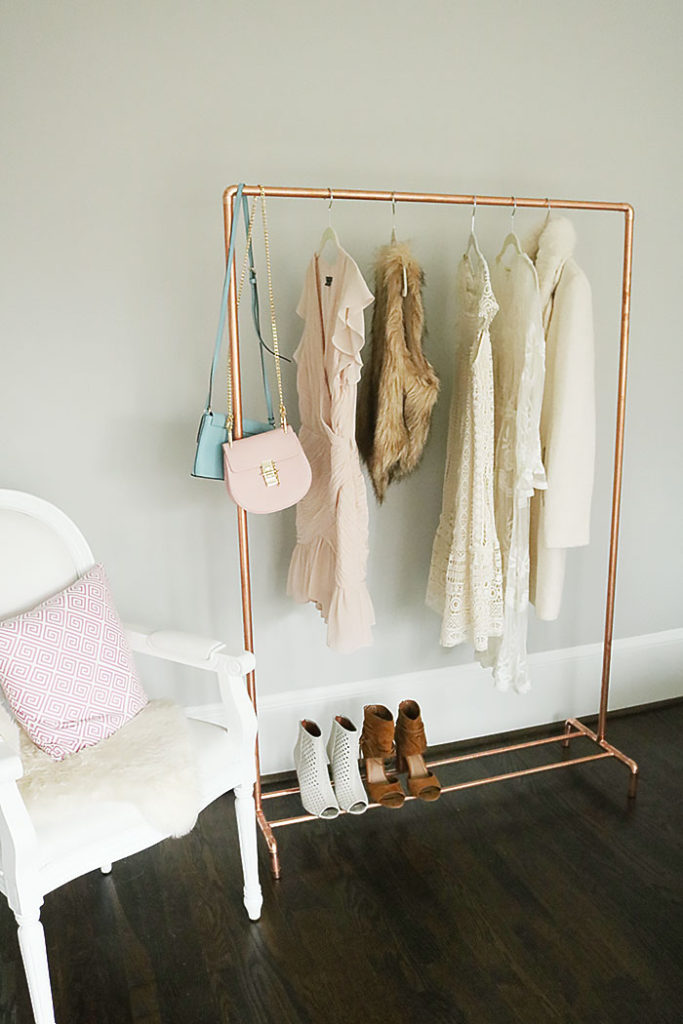
DIY Copper Clothing Rack
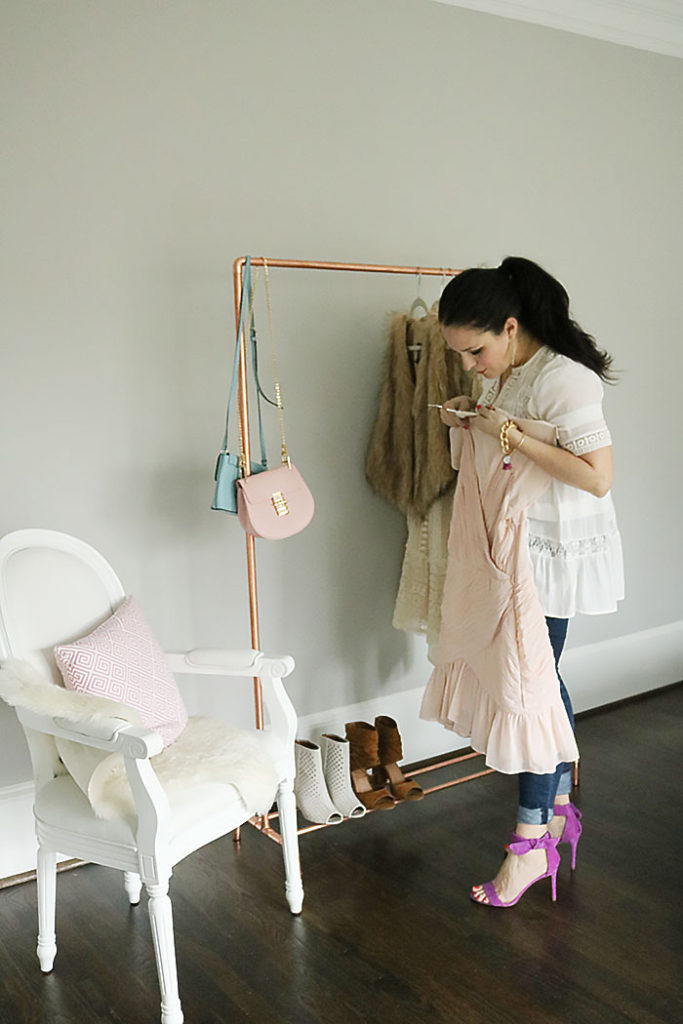
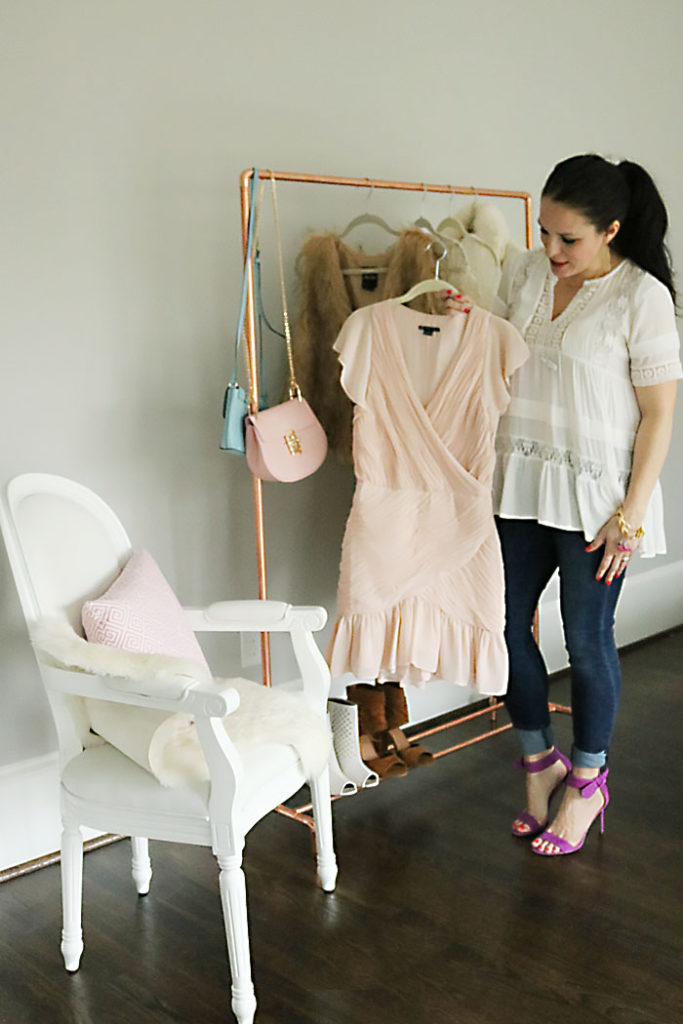
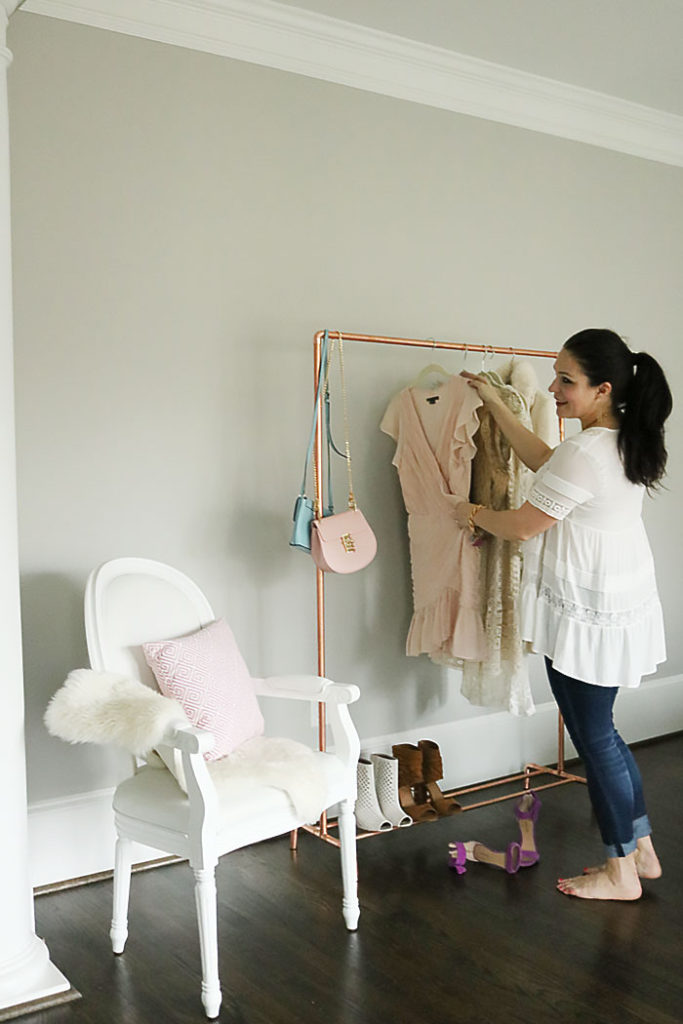
Lately, I’ve become a little obsessed with copper pipe projects like my recent copper blanket ladder ! Working with copper pipes is actually really fun and the results are clean and modern. I hope to bring you a few more copper pipe DIYs, but today I am showing you have to make a DIY copper clothing rack. This project is so easy and you really only need one tool. Assembling the copper pipes takes just a few minutes. I like this DIY copper clothing rack because it’s pretty enough to have it exposed in a room and could be used for a pop-up shop or coat rack. Looking at places like how to home might be a good way to finding out and learn about DIY projects that could inspire you. My friend gave me some affordable sass clothing that no longer fitted her and it will look great hung up on this rack!! You can dissemble the DIY copper clothing rack when it is not in use and assemble in just a few minutes. All the details and instructions of the DIY copper clothing rack is listed below. Don’t forget to PIN this project! 
DIY Copper Clothing Rack
Cost: $80
Time: about 30 minutes
Results: a furniture-like clothing rack
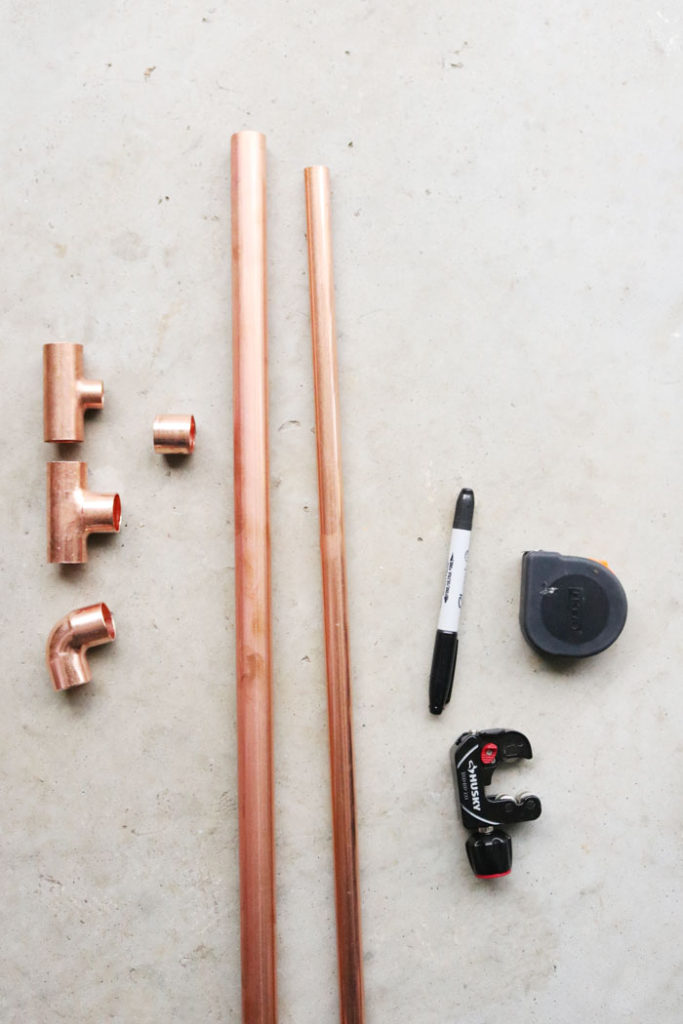
Supplies: All these supplies can be found at your local hardware store. This project is not the cheapest but cheaper than buying a copper clothing rack online or at a store. Also, if you have a copper pipe cutter than the total price will be less since I had to buy one.
black sharpie
tape measure
E6000 glue (optional, but recommended)
nail polish remover (for cleaning the pipes)
Instructions: Don’t be intimidated to cut copper. It’s SO easy! I actually had my younger son help me out with this project. And he cut the copper! The first thing to do is clean you pipes. You probably have red ink markings on the sides. Take a rag and nail polish remover and just rub it off. Nail polish remover easily takes it off.
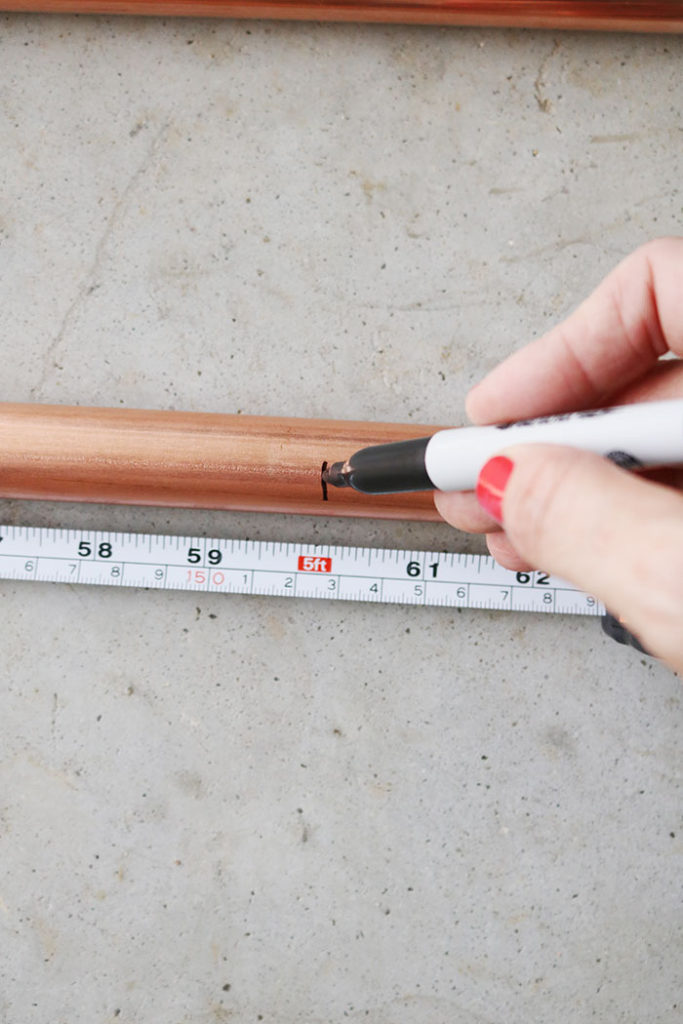
Now that you have clean copper pipes, take your 10 foot pipes and measure and mark what you will cut. Here is the breakdown:
- Take 1 of the 3/4″ diameter copper pipe and measure and mark 5 feet so basically right in the middle of the pipe. Once it is cut you will get 2 x 5 feet 3/4″ diameter copper pipes. These will be for the sides of the clothing rack.
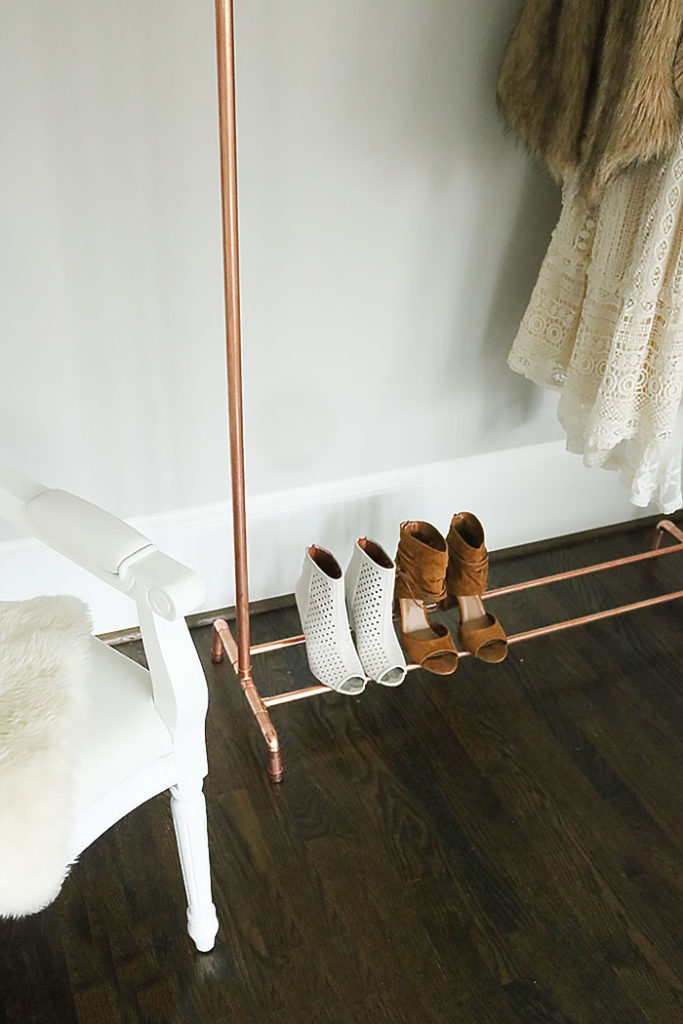
- Next take the 1/2″ diameter 10 foot pipe. Measure and mark 41″ twice. You will need two 41″ 1/2 diameter pipes. These are the ones that run on the bottom of the clothing rack and will hold up your shoes. You will have extra 1/2″ diameter copper pipes left over. Save it for another project!
- Then take your other 3/4″ diameter 10 foot copper pipe. First measure 41″ and mark. This will be the bar that goes on the top and holds the clothes. Then measure 8 x 3″ lengths and 4 x 2″ lengths.
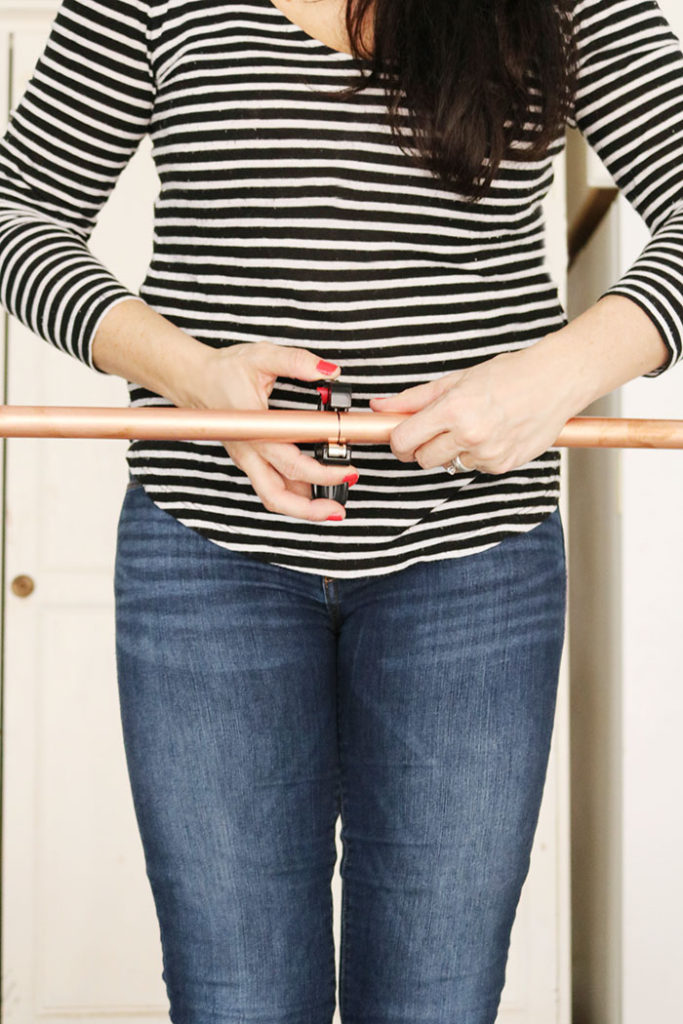
Now it’s time to cut! It’s so easy. Take your copper pipe cutter and place over the pipe where the mark is. Tighten the cutter so it is secure. Then rotate the cutter around the pipe clockwise 3 times. Tighten cutter again. Rotates counter clockwise 3 times. Tighten the cutter again. Rotate clockwise 3 times. Tighten. Repeat until the pipe snaps. It’s that easy!
Once you are all done cutting your pipes, this is what you should have! Now you are ready to assemble.
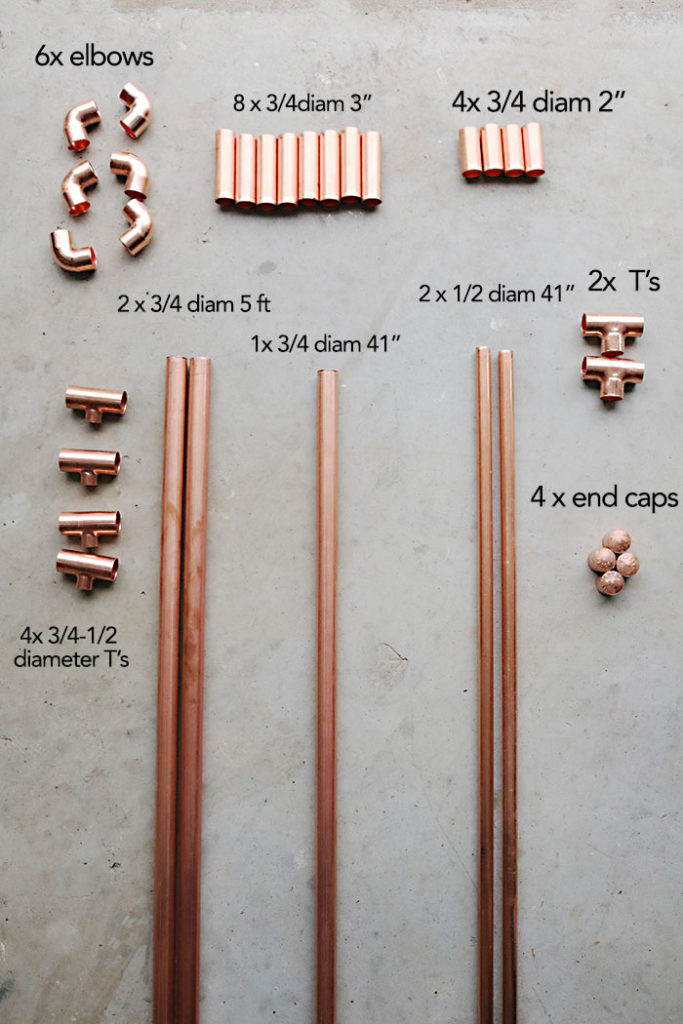
To assemble your DIY copper clothing rack, I would start with the base. I would also take your e6000 and glue these pieces together for a more secure clothing rack. Don’t glue the top sides of the rack; that way you can dissemble the top and the sides for easy storage when it’s not in use.
Your 1/2″ diameter 41″ pipes are the two parts that run on the bottom of the rack where the shoes are placed. Take the copper Tee’s that are 3/4″ x 3/4″x 1/2″ to secure the cross bars. Take your 2″ 3/4 diameter pipes and place them on the one sides of the T. Then place the 3/4″ Tee for the other side and connect the two cross bar together with the secure of 3/4″ Tee. That Tee should be place up and will be where you will place you 5 foot copper pipes. But before you do that, take your 3″ copper pipes and place them on the other side of the Tees and connect your elbows and then finish off the feet with another set of 3″ copper pipes and then your end caps. Make sure all your pipes are secure and pushed in all the way. If you are gluing, let the glue set before you assemble the top.
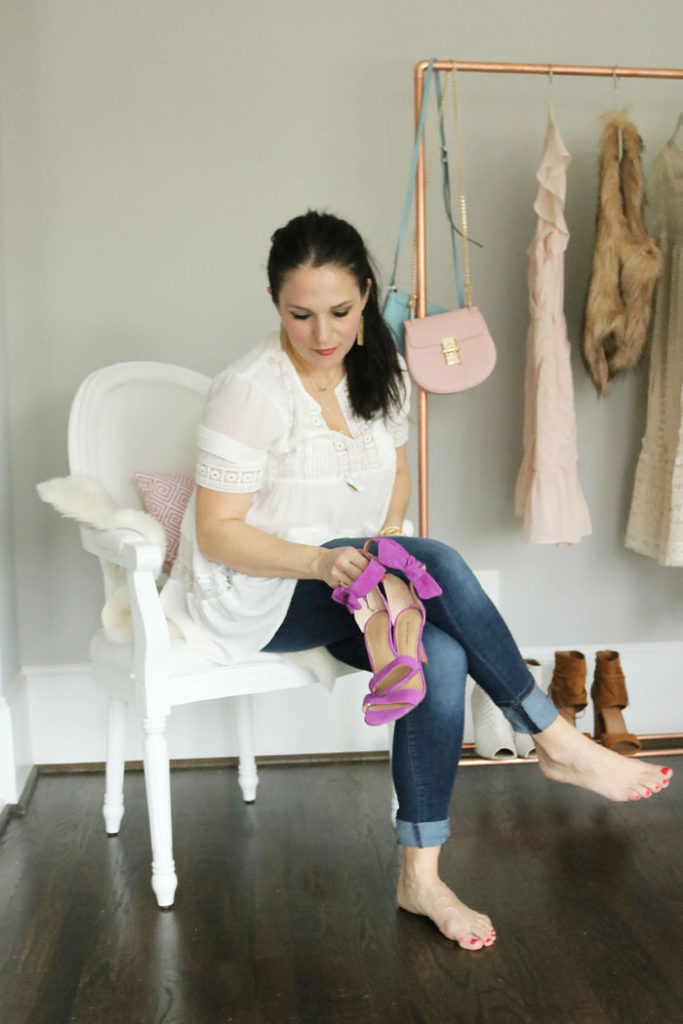
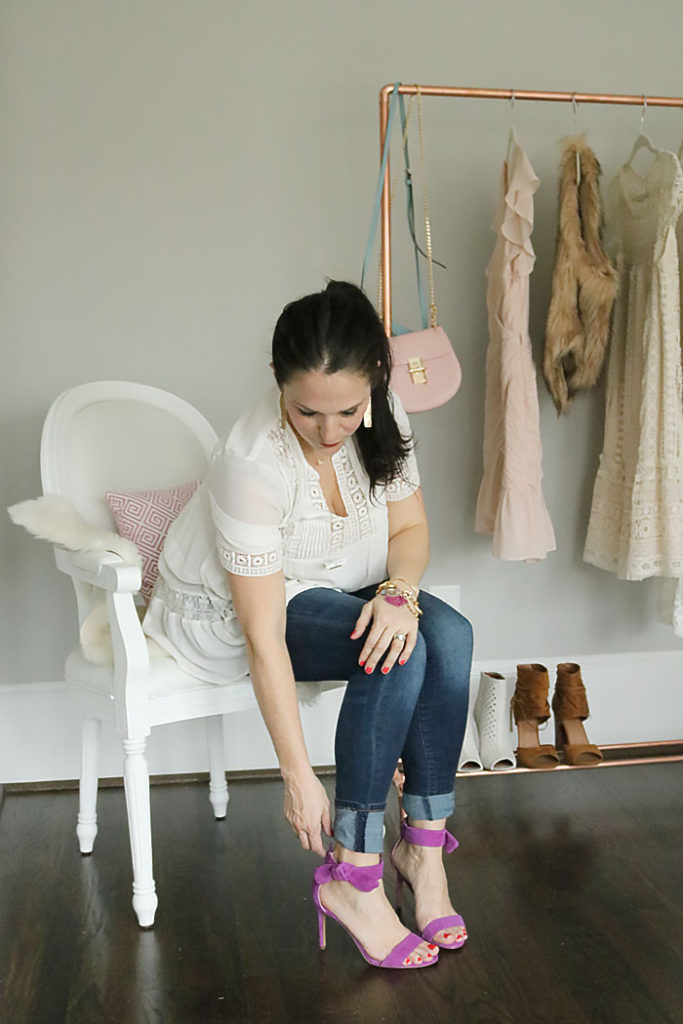
I’m loving these kate spade fushcia pink heels and bow-tie heels. So fun and festive.
Once all the bottom is assembled of your DIY copper clothing rack, now take your long bar and assemble the sides and the top securing with your last two copper elbows. Grab a helper so the long pipes aren’t hitting you in the head! Add some rubber bottoms to your rack if you have hard wood floors so it doesn’t slide around or scratch the wood. Your copper clothing rack is now ready to be used!
SHOP this POST:


The post DIY Copper Clothing Rack appeared first on Darling Darleen | A Lifestyle Design Blog.
